
Follow these steps to enable abandoned cart tracking at your website in order to trigger automatic web push notifications.
Note: If you are a Shopify user, we automatically track abandoned carts for you. From the dashboard head to ‘Triggered Notifications’ and click on the abandoned cart notification template. You can edit the notification information and then be sure to hit ‘Activate.’
For Non-Shopify users follow the following steps to get set up
Step 1: Add Snippet To Cart Page
Place the following snippet on your cart page. Here you can define how long (in minutes) before a cart is deemed abandoned by a visitor:
<script>

_at.track("cart", {"type" : "add-to-cart", "delay" : 30 });

</script>
Place this just below your closing "</body>" tag. In this example, the cart would be deemed abandoned after 30 minutes.
Step 2: Add Order Complete Snippet
Place the following snippet on your order complete/thank you page:
<script>

_at.track("cart", {"type" : "order-complete" });

</script>
Step 3: Create The Triggered Notification
If any subscriber adds a product to your cart and does not complete the order within the time specified in step one, the event "Abandoned Cart" will be triggered for that subscriber.
Tip: The best way to make sure you have set this up correctly is to go to your Event Log (Logs > Custom Events) and see if it is there. We recommend waiting 24 hours once you place the code.
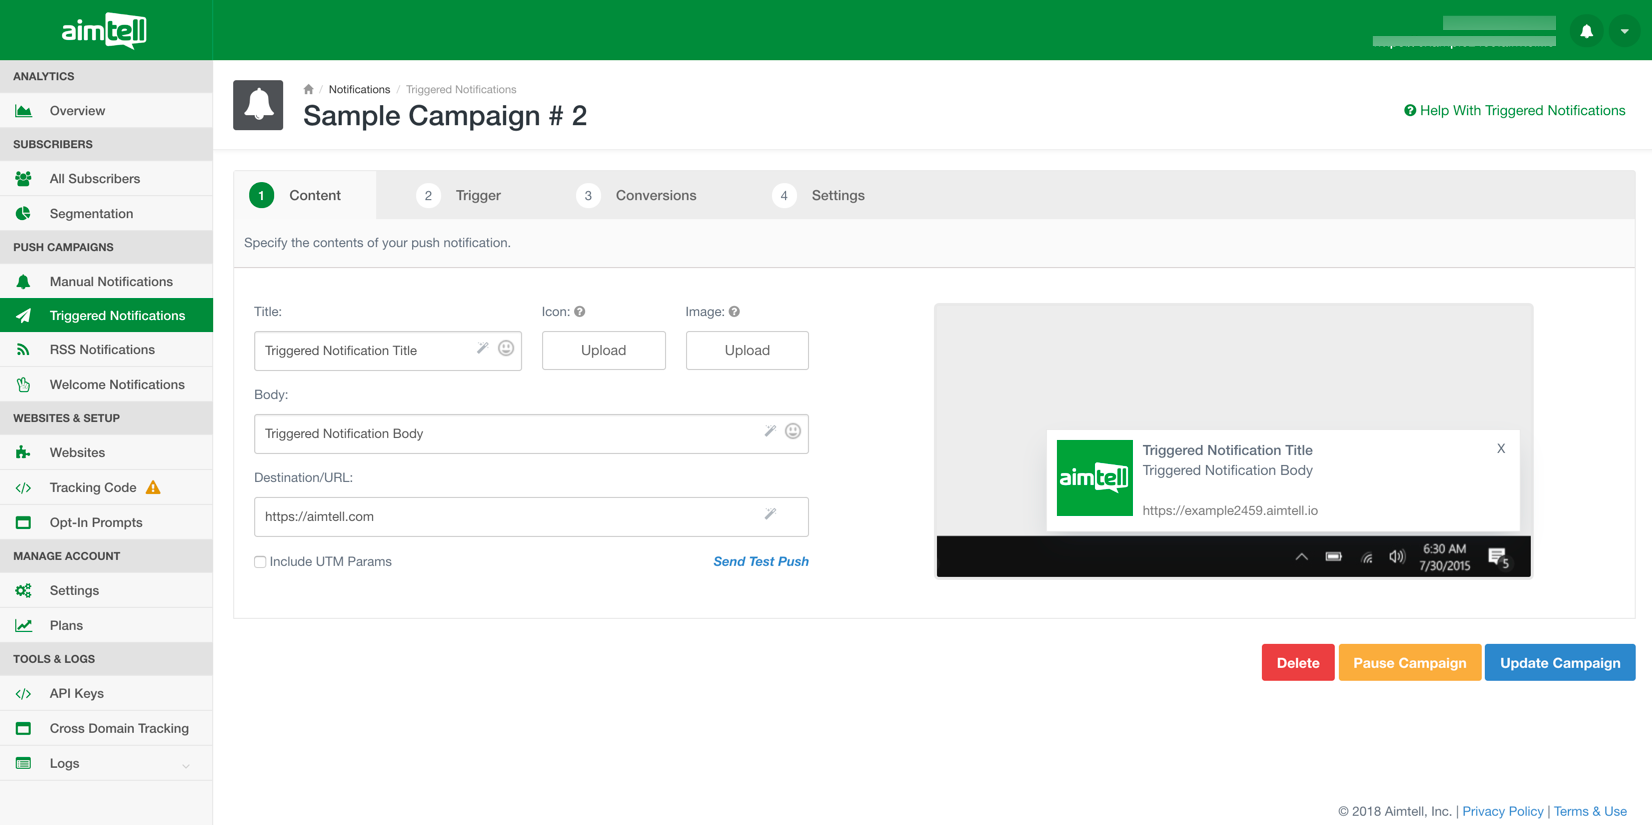
Now you can create the triggered notification that will be sent whenever the event occurs. Head to Notifications > Triggered Notifications and create a new triggered notification.
Create your notification by adding your title, body, URL, and custom icon or action buttons.
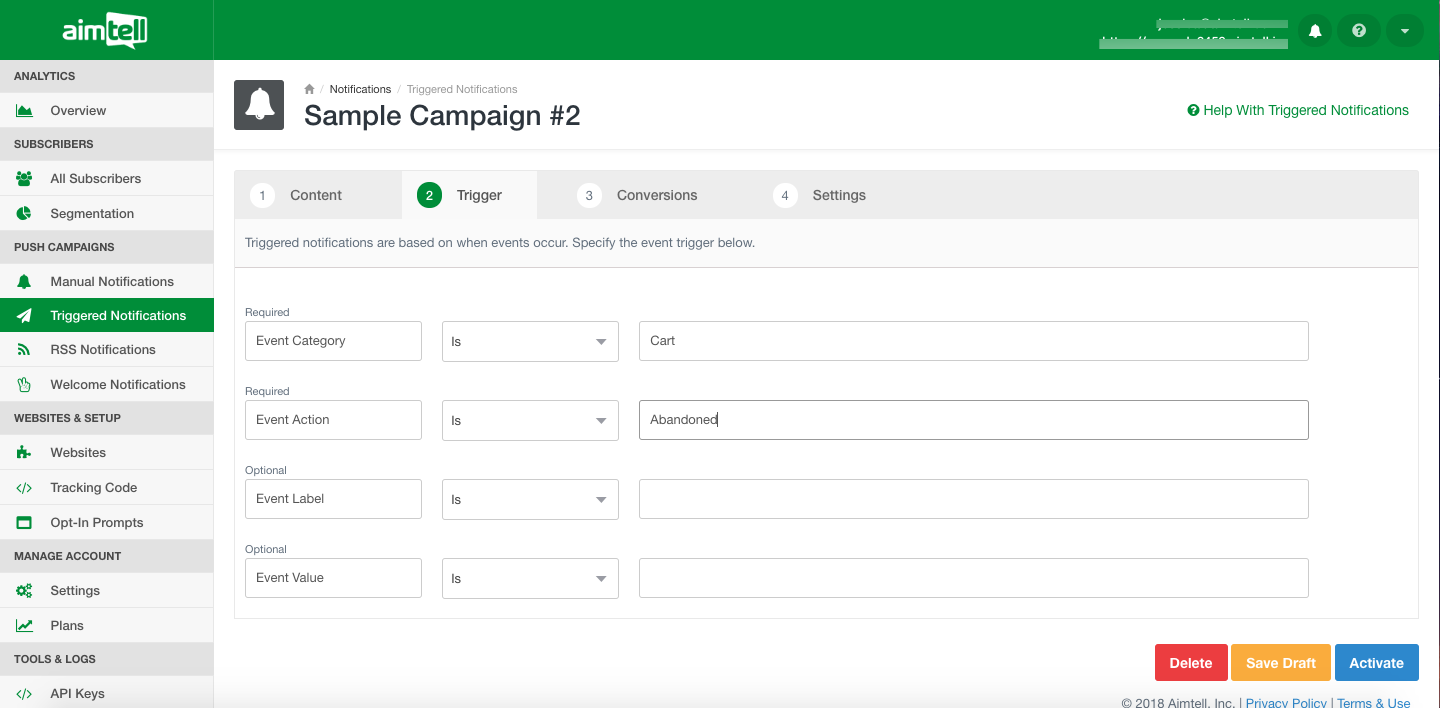
Step 4: Specify The Trigger
Next you need to correctly set the trigger for this notification. The Event Category should be "Cart" and Event Action should be "Abandoned.”
Step 5: Enable Conversion Tracking (Optional)
If you want to enable conversion tracking for this triggered notification, hit the ‘Conversions’ tab at the top and toggle Conversion Tracking ON. For more help with this, read our Conversion Tracking Documentation.
Step 6: Specify Additional Settings
Finally, select the ‘Settings’ tab to input some optional settings. You can set a time delay, but keep in mind that this will add on top of the delay that you already set in step one.

You can also decide if you want to auto-hide the notification after a certain period of time (measured in seconds), if you wish to target certain devices (desktop only, mobile-only, or any device), and finally if you wish to target only certain segments of your subscribers. If you do segment targeting, you can choose to target users who either exist or do not exist in a certain segment.
When you are finished, click ‘Activate’ and you're all set! You can view the results of the campaign by going to Triggered Notifications and clicking "View Results" next to your campaign.