
Discover how easy it is to send automated push notifications to your subscribers based on custom events that you set up to track.
Triggered notifications are automated notifications that send as a result of a certain event occurring, such as a cart being abandoned or a video being watched. We automatically track several events for Shopify users (view the full list of Shopify tracked data here) but for all websites, you can always add custom events in order to track anything that you like.
Note: Before you can set up a triggered push campaign you need to have first set up a custom event. Read our custom event tracking documentation for the steps to set this up.
You can always check if your site is tracking any custom events by heading to Logs > Custom Events within your dashboard. We recommend doing this after setting up any new custom event to make sure that it is set up properly.
Steps to Create a Triggered Push Campaign
Step 1: Navigate to Your Triggered Notifications
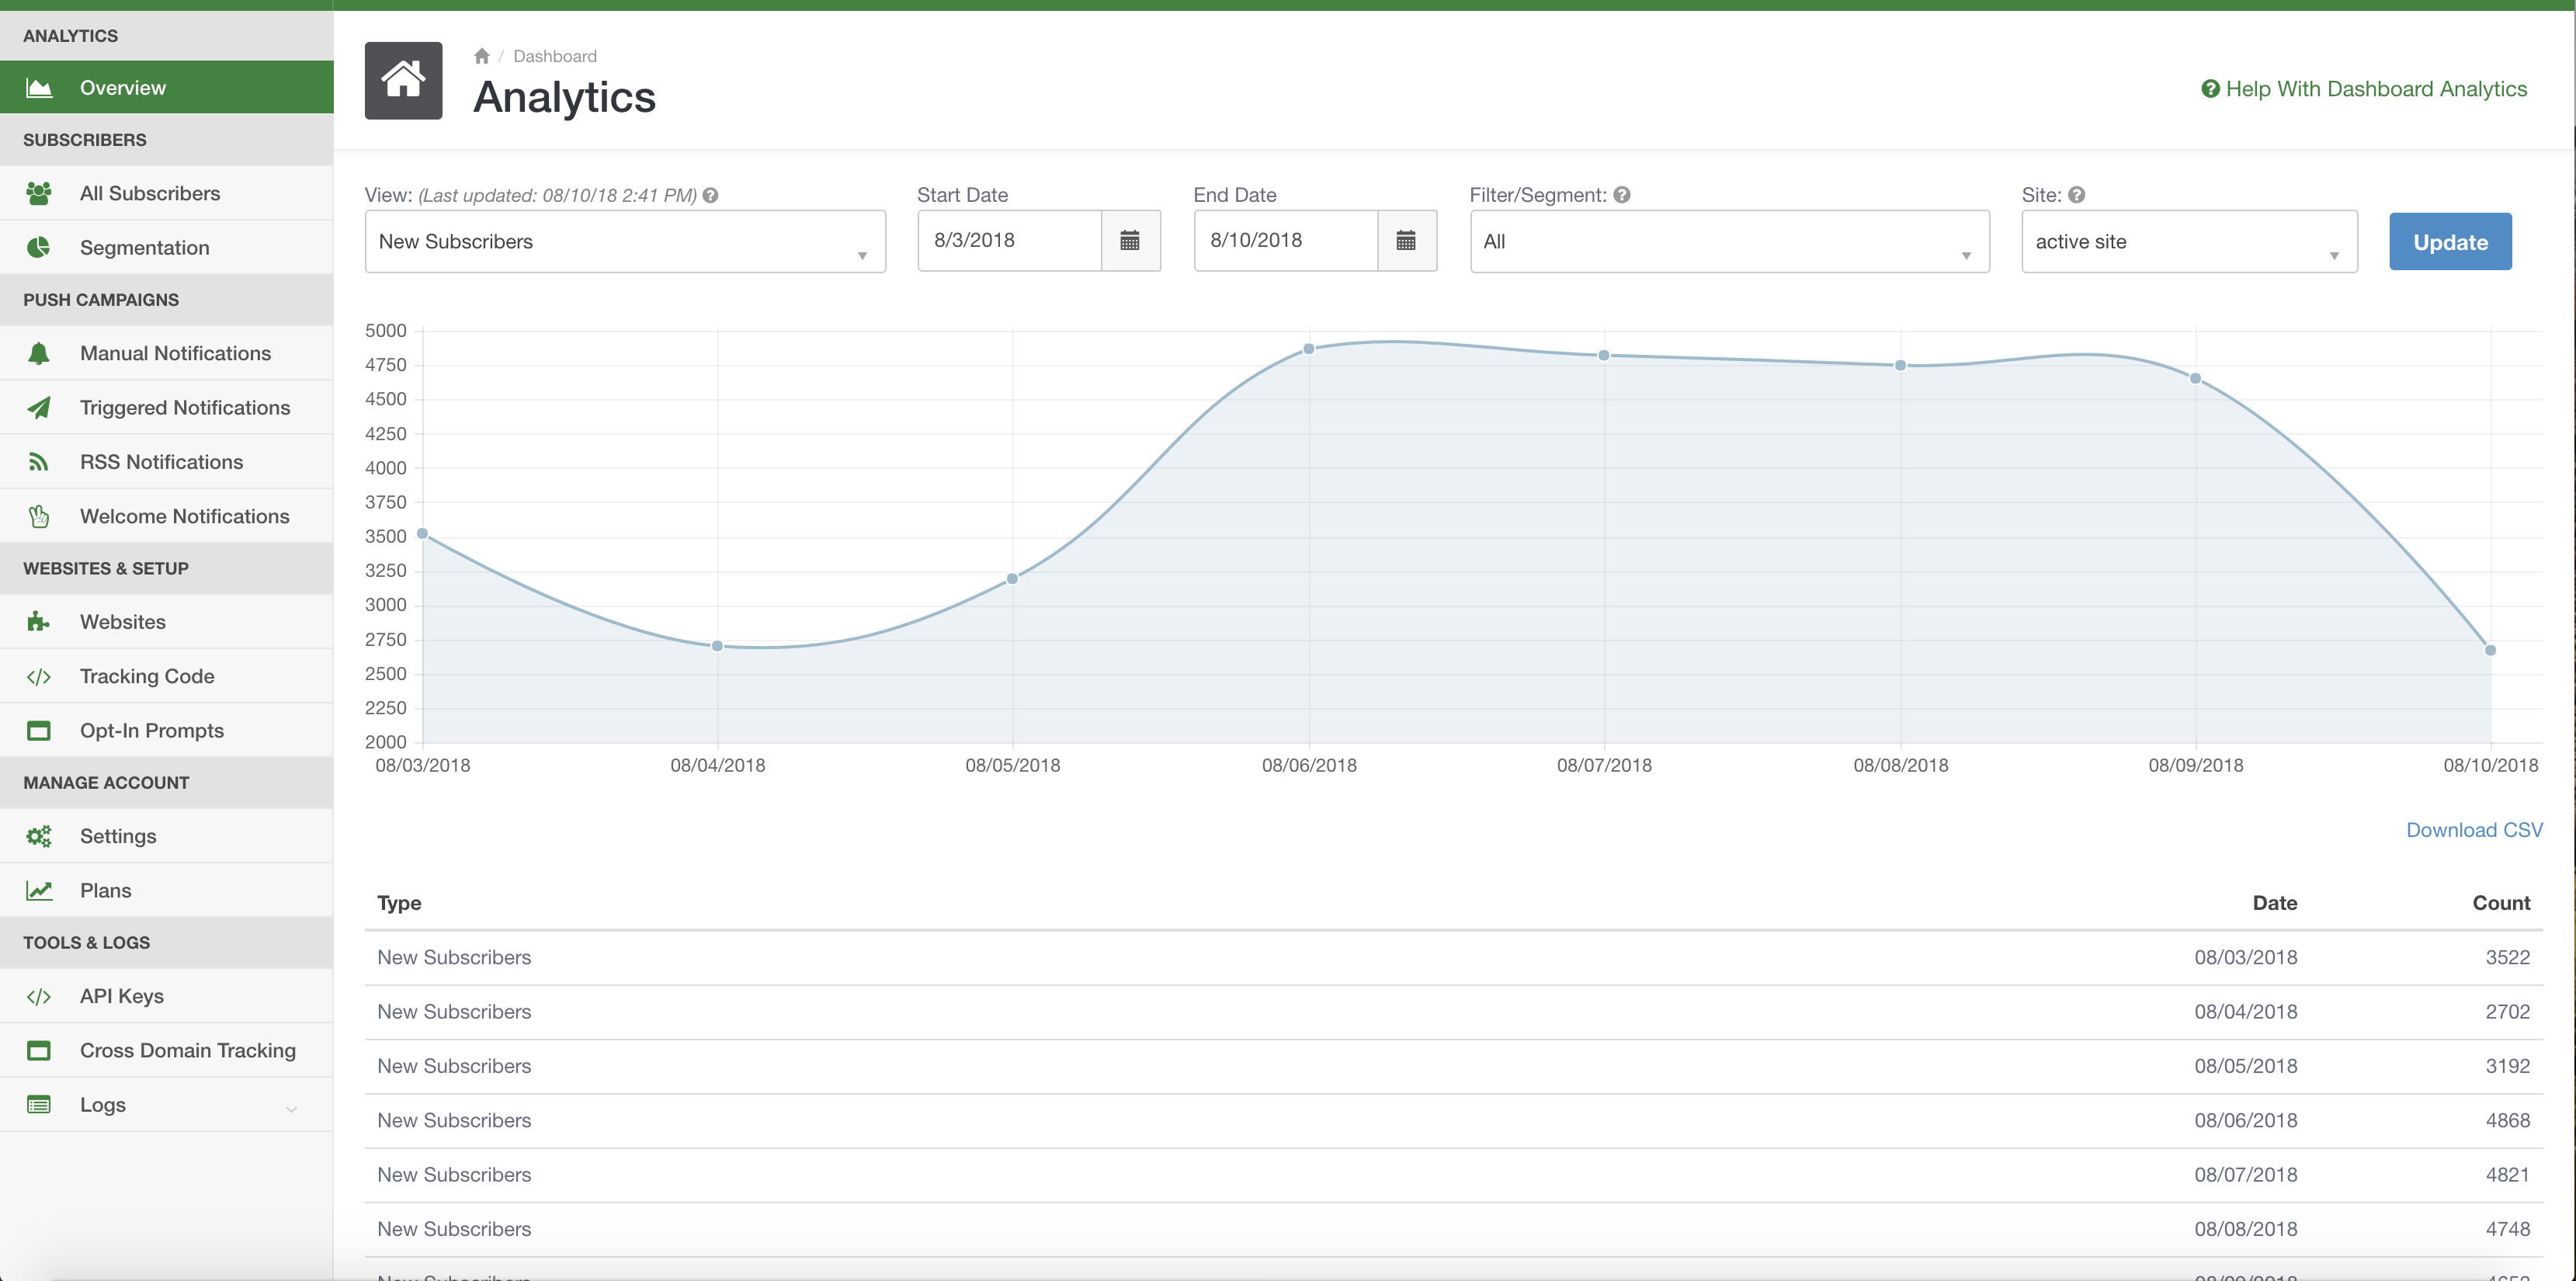
Start off by logging into your dashboard. From there, click on ‘Triggered Notifications’ in the sidebar.
This will take you to your campaign page for all of your triggered campaigns. On the ‘Active’ tab you will see a list of all of your current triggered campaigns.
There is also the ‘Templates’ tab which features a selection of pre-made templates. Click the tab at the top and if you wish to use one, hit ‘View Template’ and then ‘Use Template’ to add it to your list of triggered campaigns.

Step 2: Create a New Triggered Campaign
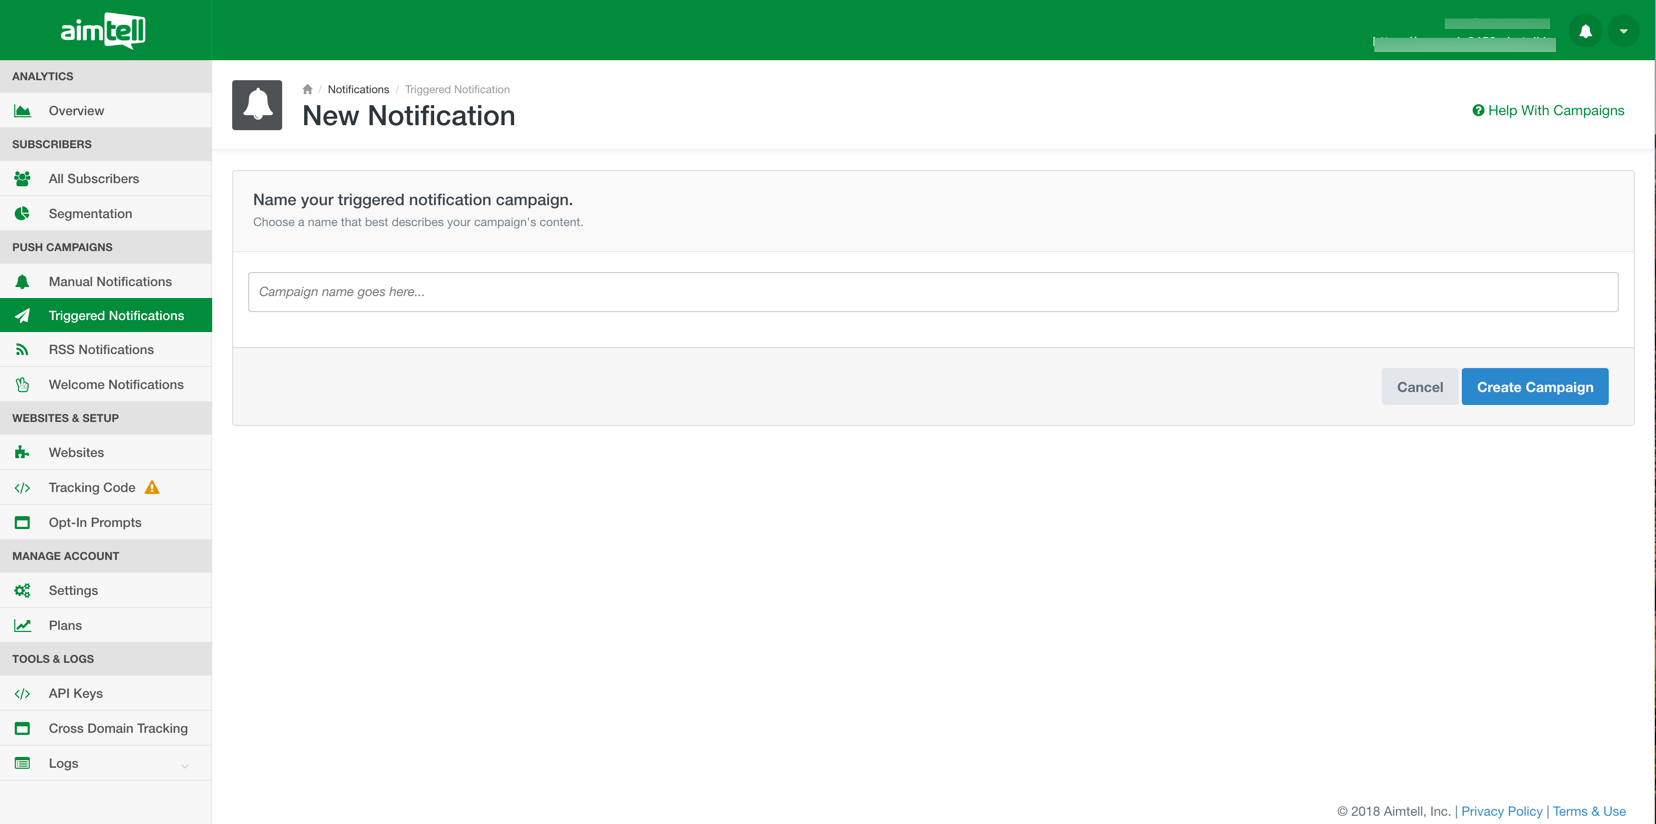
To create a new campaign, hit the ‘New Triggered Notification’ button. This will allow you to set up a new triggered campaign for a particular subscriber action. Give the campaign a name and hit ‘Create Campaign.’
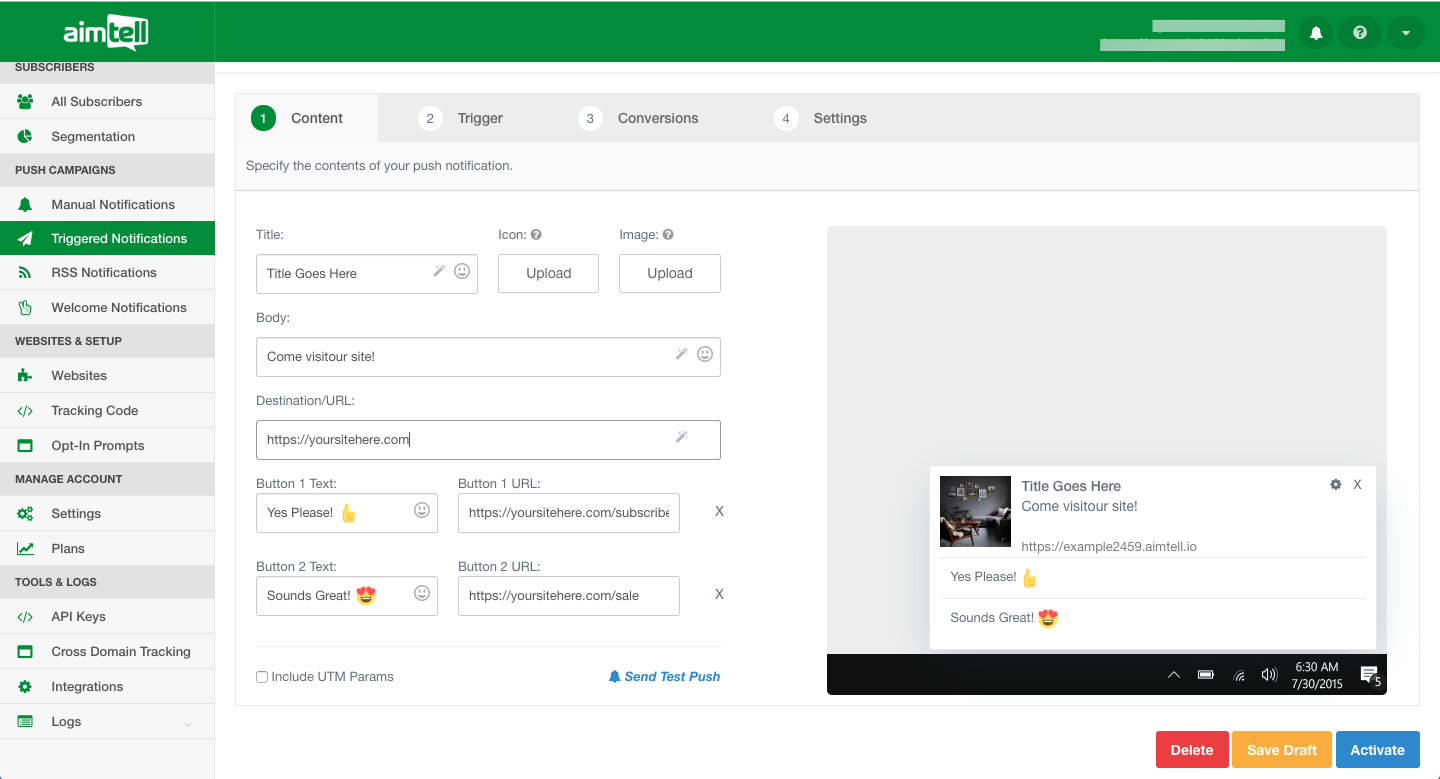
Step 3: Input Campaign Info
Now it’s time to build your actual campaign. Enter your title, body, destination URL, and optionally a custom icon or large image.
Note: You can also add up to two action buttons. Action buttons are a great way to customize your push notifications and also provide the opportunity to add two additional landing pages to your push. You can read more about utilizing the action button here.
Step 4: Specify the Trigger
After you set up the content for your notification, click the ‘Trigger’ tab to set up what will trigger the notification. In this case, the category is "Downloaded" and the action is "Success PDF." Make sure the event category and event action match the exact words used when setting up the custom event.-1.png?width=688&name=Triggered_Notification_PDF_Downloaded_%20(1)-1.png)
Note: You can also specify an optional Event Label or Event Value. For your Event Label, you can use ‘Is’ or ‘Contains’ logic for added variation. Using ‘Contains’ allows you to create even more targeted and relevant triggered campaigns for all different types of events you set up to track.
For example, in this PDF download example, you could set up two unique triggered campaigns, one that triggers from your blog and one that triggers from a case study. Set your Event Label as a URL and use ‘Contains’ logic to target different URLs such as your blog (/blog) or a case study section (/case-studies)

Step 5: (Optional) Enable Conversions
Next, hit the conversions tab and enable conversion tracking if you wish to do so. If you do enable conversion tracking, you will have to provide your event category and action for Conversions.![]()
Note: Make sure to set the ‘Track conversions’ toggle to ON otherwise, your conversions will not track.
Step 6: Specify Additional Settings
Finally, select the ‘Settings’ tab to determine the final information about the notification.
- Time Delay: This can be measured in minutes, hours, or days. Be sure to select the correct measurement and then input the number that you want.
- Auto-Hide Notification: You can choose to auto-hide the notification after a certain amount of time. Input the amount of time in seconds.
- Expire On Conversion: When set to ‘True’ the triggered push notification will not send if a conversion is tracked during the time delay (for example, the delay is set at two hours, and the subscriber converts after 1 hour). You must enable conversion tracking for this to work, and the subscriber must log the tracked conversion for the notification to not send.
- Device Targeting: This enables you to target all devices, desktop devices only, or mobile devices only.
- Segment Targeting: This allows you to restrict the triggered campaign to only apply to certain subscribers. You can choose to send to subscribers that either exist or do not exist in a certain segment. Select the condition you want (if you want the subscriber to either exist or not exist in a certain segment) and then select the correct segment.

Note: ‘Expire on Conversion’ can be a very powerful feature, especially if you want to set up a series of triggered campaigns. For example, you could set up three abandoned cart notifications with staggered delays, for example, 1 hour, 5 hours and 24 hours. Conversion tracking must be set up for each triggered campaign and ‘Expire on Conversion’ must be enabled on each as well. If a subscriber converts after 2 hours, for example, the second and third triggered campaigns would not send.
Step 7: Finishing Up!
When you are finished, you may either save the campaign as a draft or activate it right away by selecting the appropriate button at the bottom of the page (you may also choose to delete the campaign if you wish).
That’s it! Your new triggered notification will display along with all of your other triggered campaigns.
Tip: A great way to save time if you have several websites that you are managing web push for is to copy and paste campaigns across your various sites. From your list of triggered campaigns select the ones you wish to copy, and select ‘Copy Campaign(s)’ from the Options menu. Head to any other website you manage, go to Triggered Notifications, and this time hit ‘Paste Campaign(s).’
