Creating A Custom Opt-in Prompt
You have a few design options to choose from when creating a custom opt-in prompt. Here are the steps for creating your own custom prompts:
Step 1: Head to the Opt-In Prompts Page
Login to your dashboard and select ‘Opt-In Prompts’ in the sidebar. Select the box on the right ‘Custom Optin Prompt.’
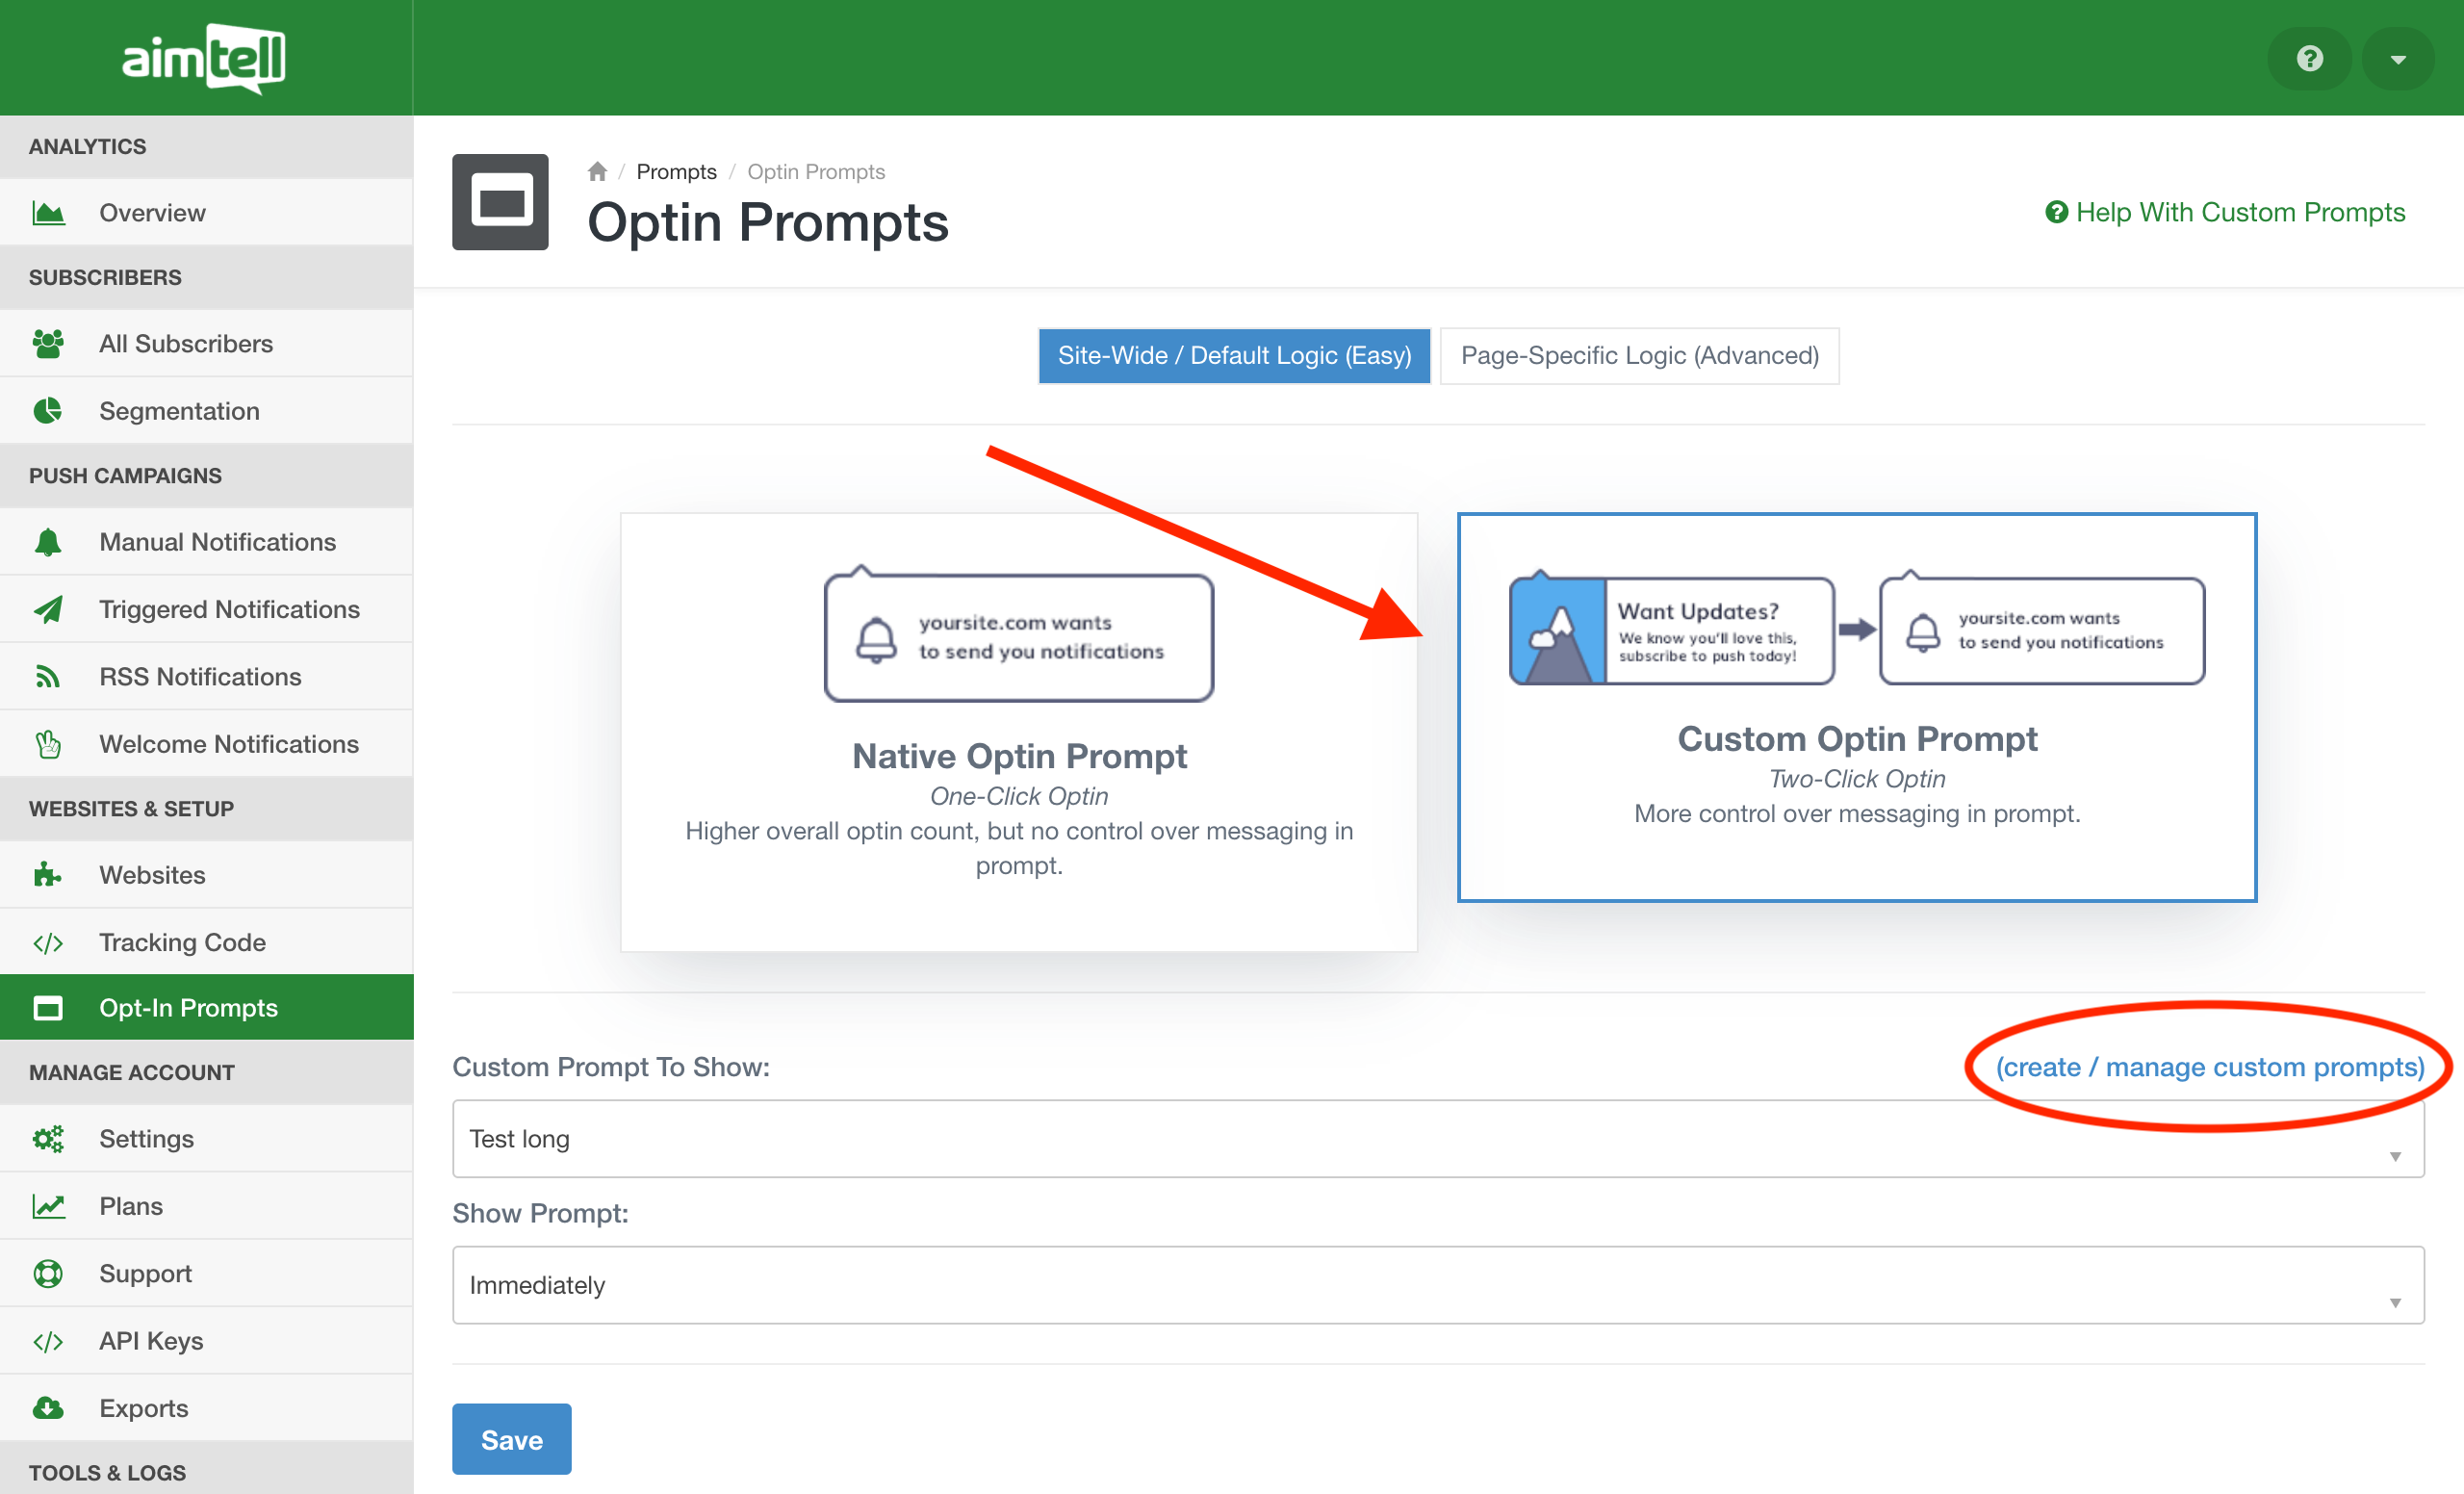 You will notice two drop-down menus. The top one will show any existing custom prompts that you have created. To create a new one, click on the blue text that says 'create/manage custom prompts.’
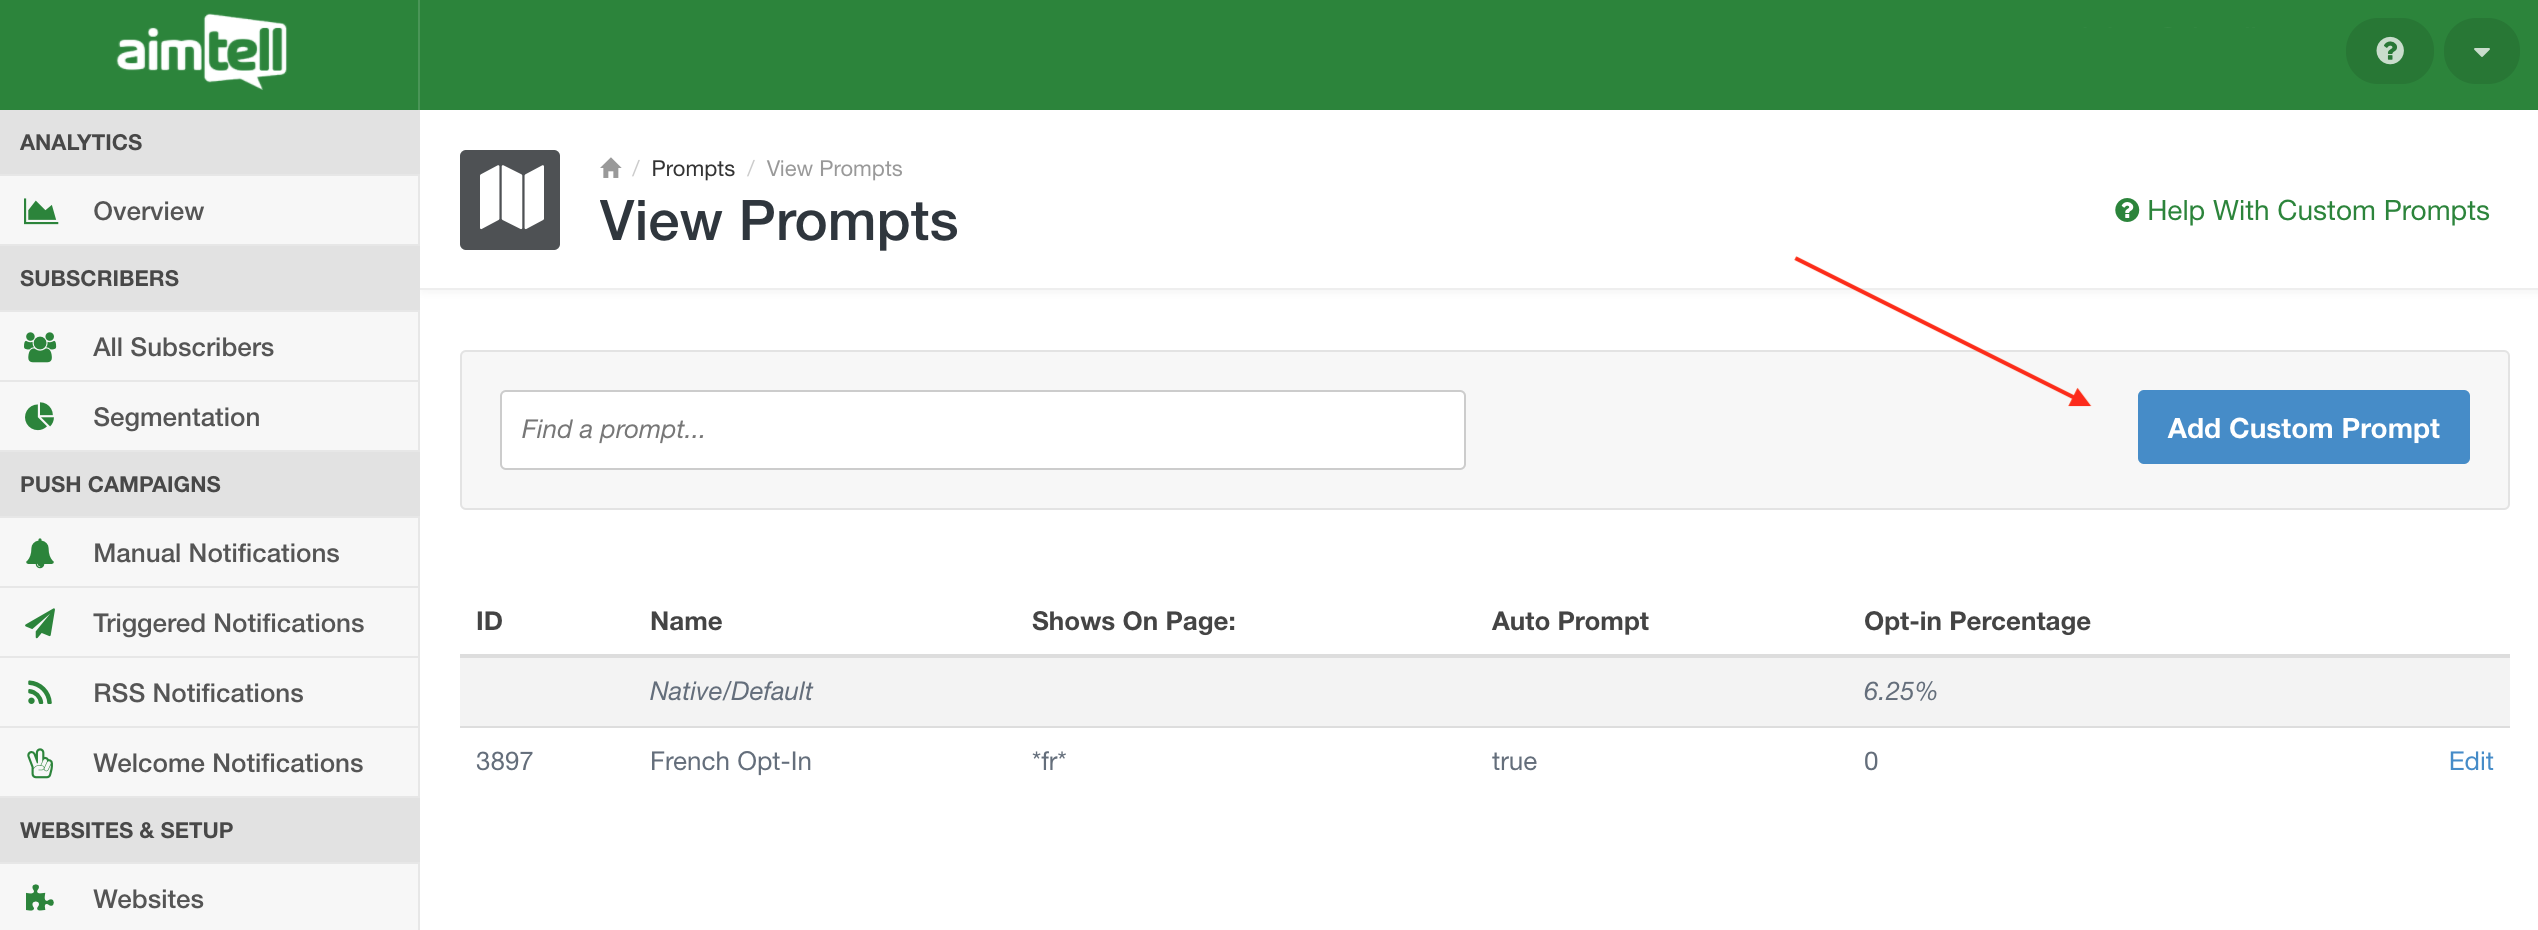
This page will display any existing prompts you have created. To create a new custom prompt, click on the button "Add Custom Prompt."
Step 2: Name Your Prompt and Choose a Style
To start creating your prompt you will name the prompt and select which design option you wish to use. Choose between "Top Left Dropdown Prompt" and "Middle Rectangle Prompt." As the names suggest, this will decide the placement of the prompt at the top of your website.
Note: There is also a slight difference in appearance. The top left prompt does not allow you to add a custom icon, but the middle rectangle prompt does. 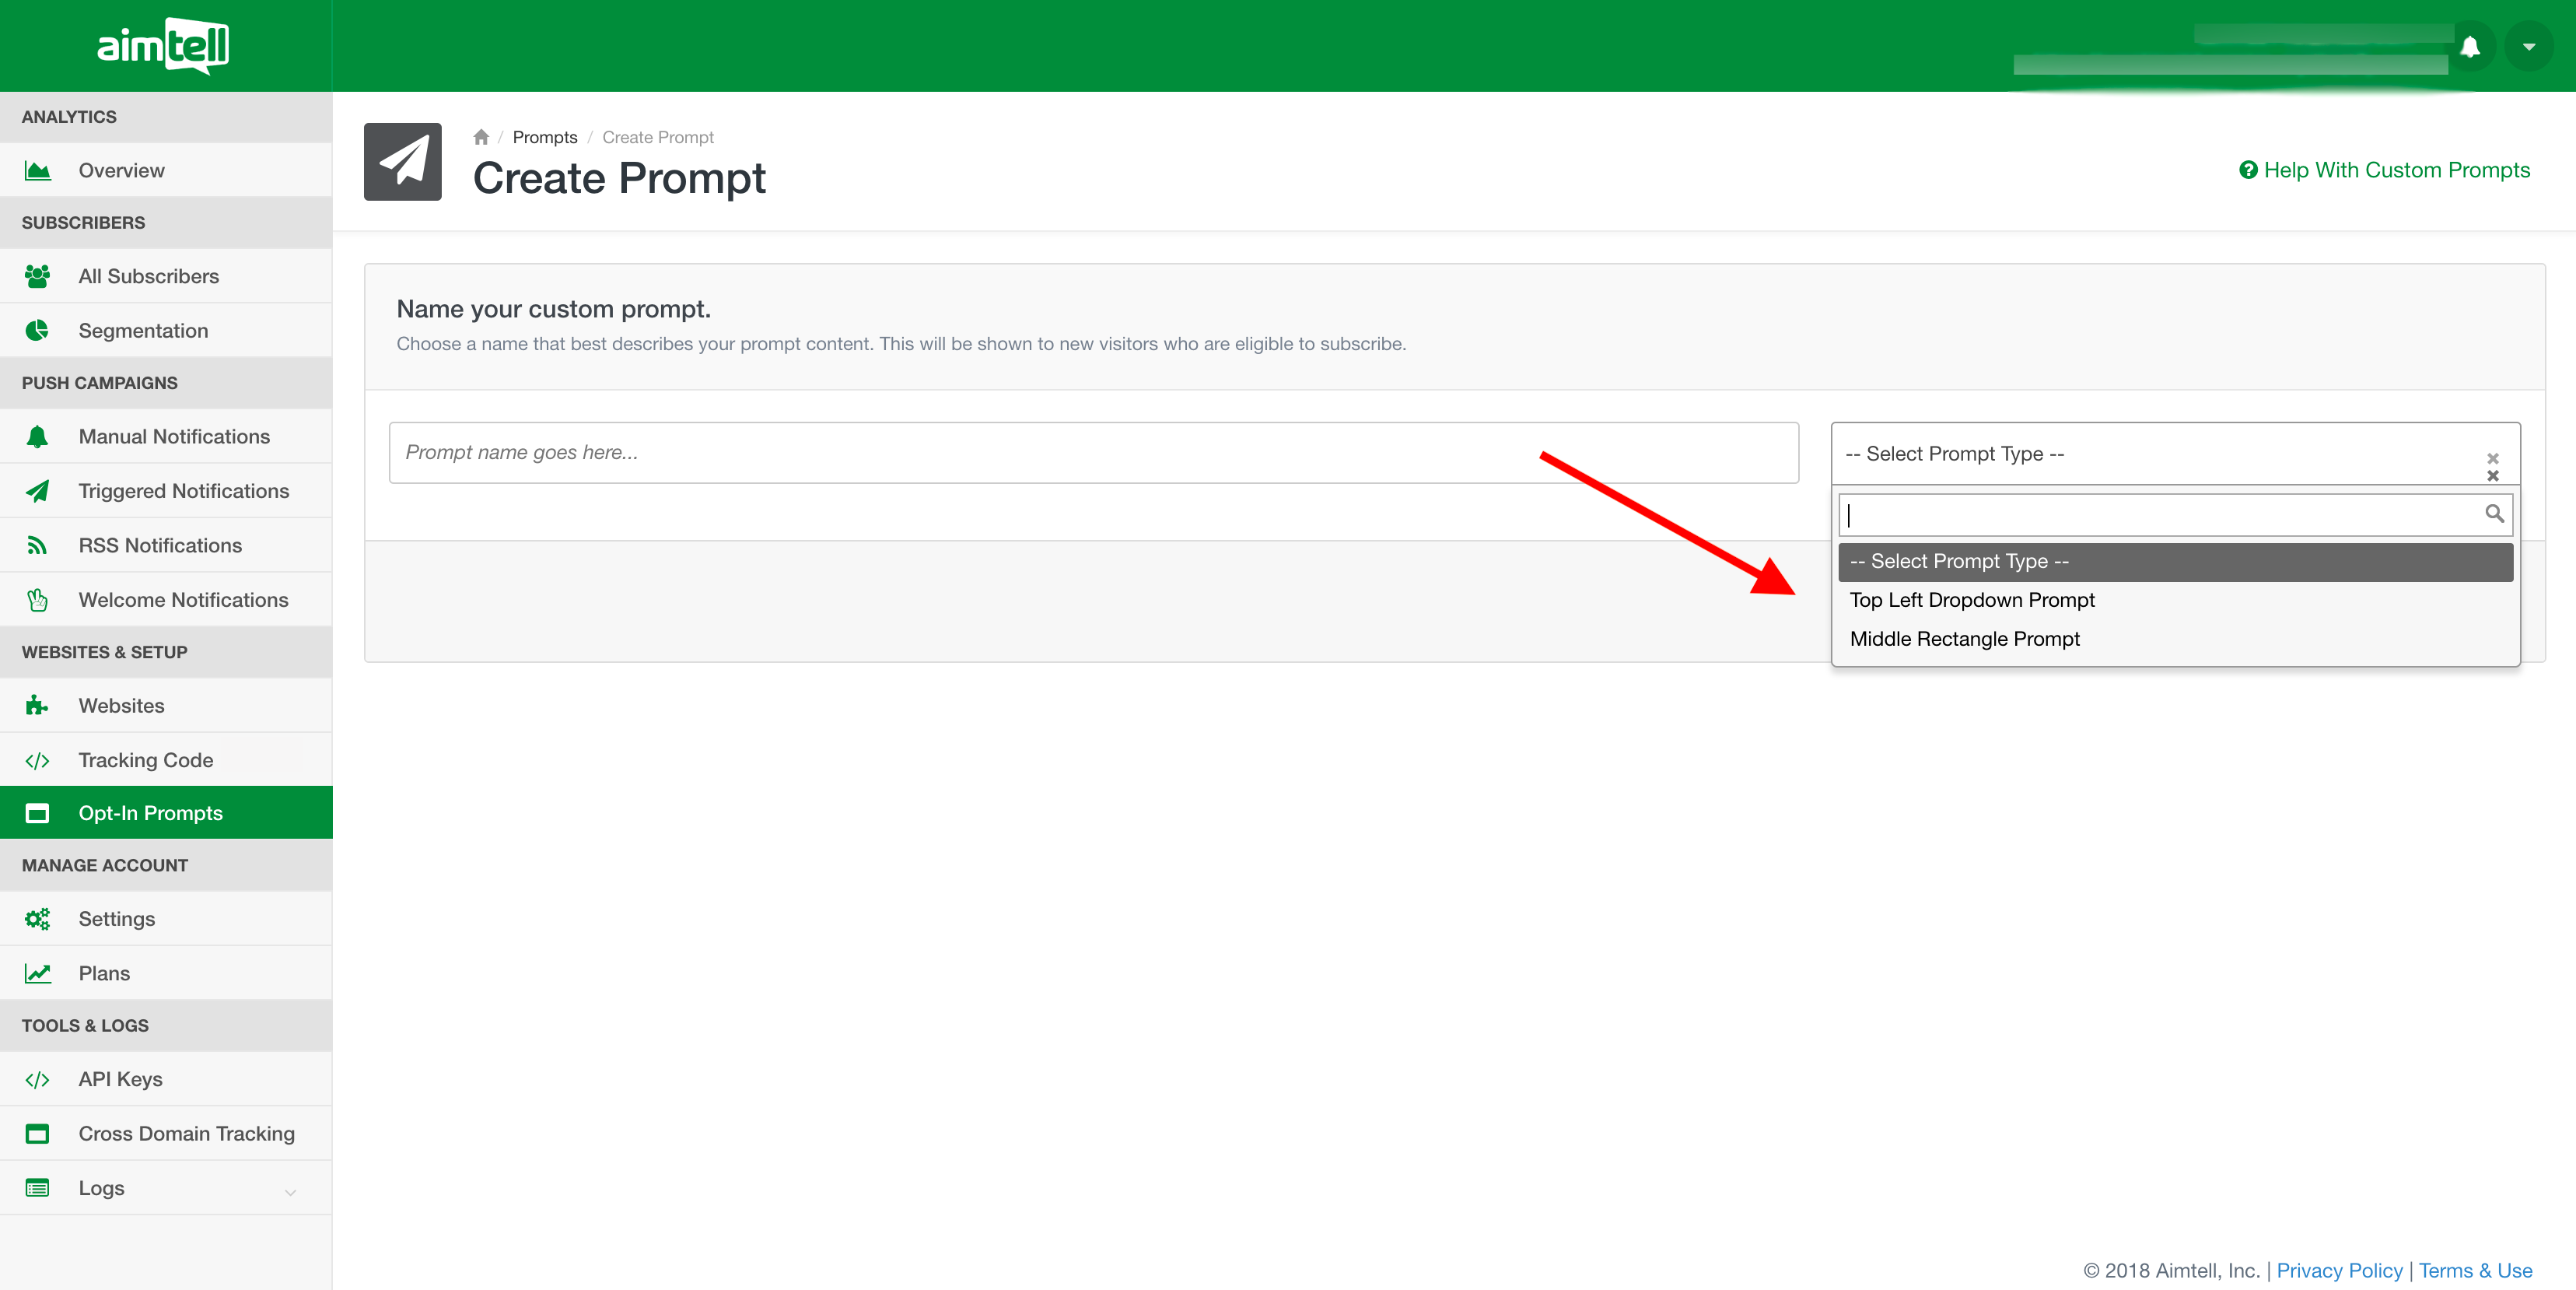
Choose a prompt type and then select ‘Create Prompt.’
Step 3: Design the Custom Prompt
Now it is time to design your prompt and input your text, icon, and buttons.
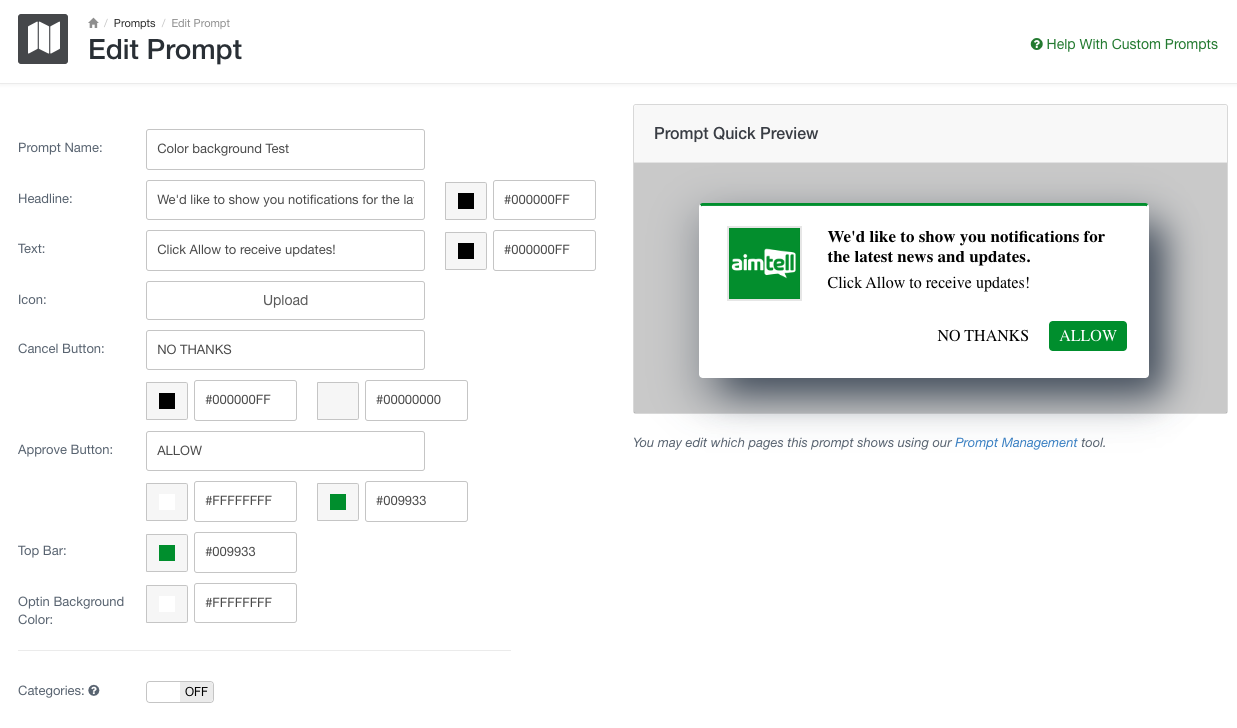 For this example, we selected the middle rectangle design so you will see the option to add an icon. Input all of your information here, including your headline, body text, and button text.
You can customize the font colors for all of your text including the new updated option for hex code for custom colors.
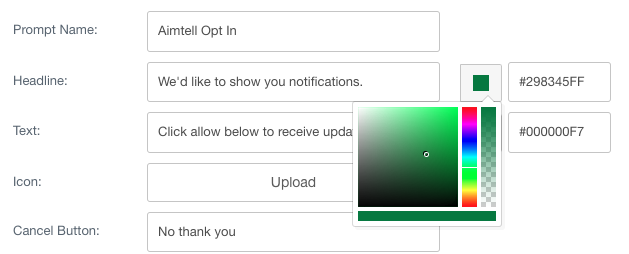
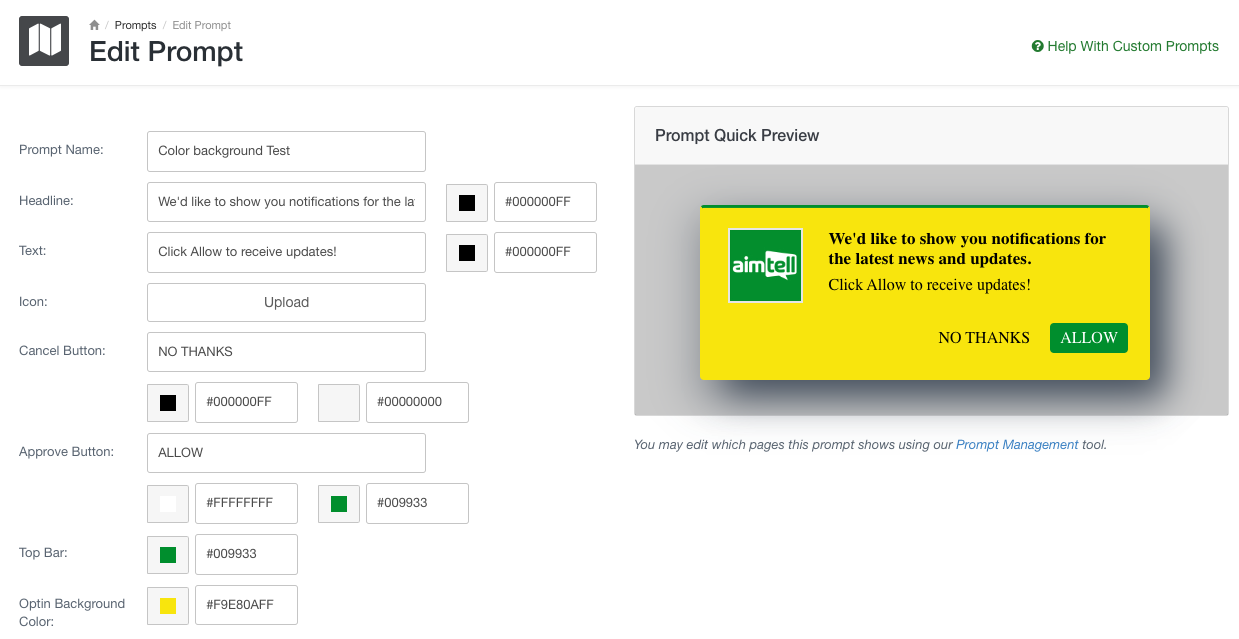
For the cancel and approve buttons, you can also select a background color. Select the squares next to each field to pick a color. The second squares are for the background colors on the buttons.
Underneath the button color options are color change options for the top bar as well as the background color. In this example, we have chosen yellow so you can see the difference from the default background. These options also include Hex color selections so you can match your brand colors.
The toggle switch at the bottom of the editor is for categories, which will allow you to create categories of interest for your subscribers to choose.

They will look like this:
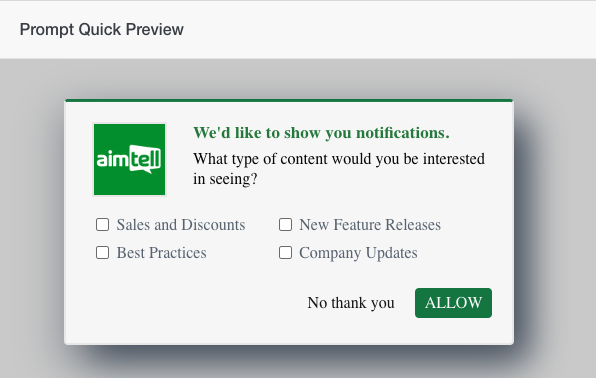
If a subscriber selects any of the categories, they will be added to that subscriber as a 'Custom Attribute'.
As you input your information the 'Prompt Quick Preview' will automatically update to reflect your changes. The preview displays exactly how the notification will display to your users, so make sure you are happy with how the prompt looks before finishing.
Step 4: Finalize and Save Your Prompt
Once you are happy with your prompt be sure to hit ‘Update Prompt.’ This will add it to your list of custom prompts.
Note: Once a prompt has been created you will need to specify when it appears to your subscribers. To learn more about our prompt conditions, read our documentation on page or browser-specific logic .
