Install With Cloudflare
This tutorial walks through the steps to install Aimtell's web push notifications with Cloudflare.
Step 1. Add your website
To add a website to your Aimtell account log into your dashboard ( https://dashboard.aimtell.com/login ) and go to "Websites" > "Add Website".
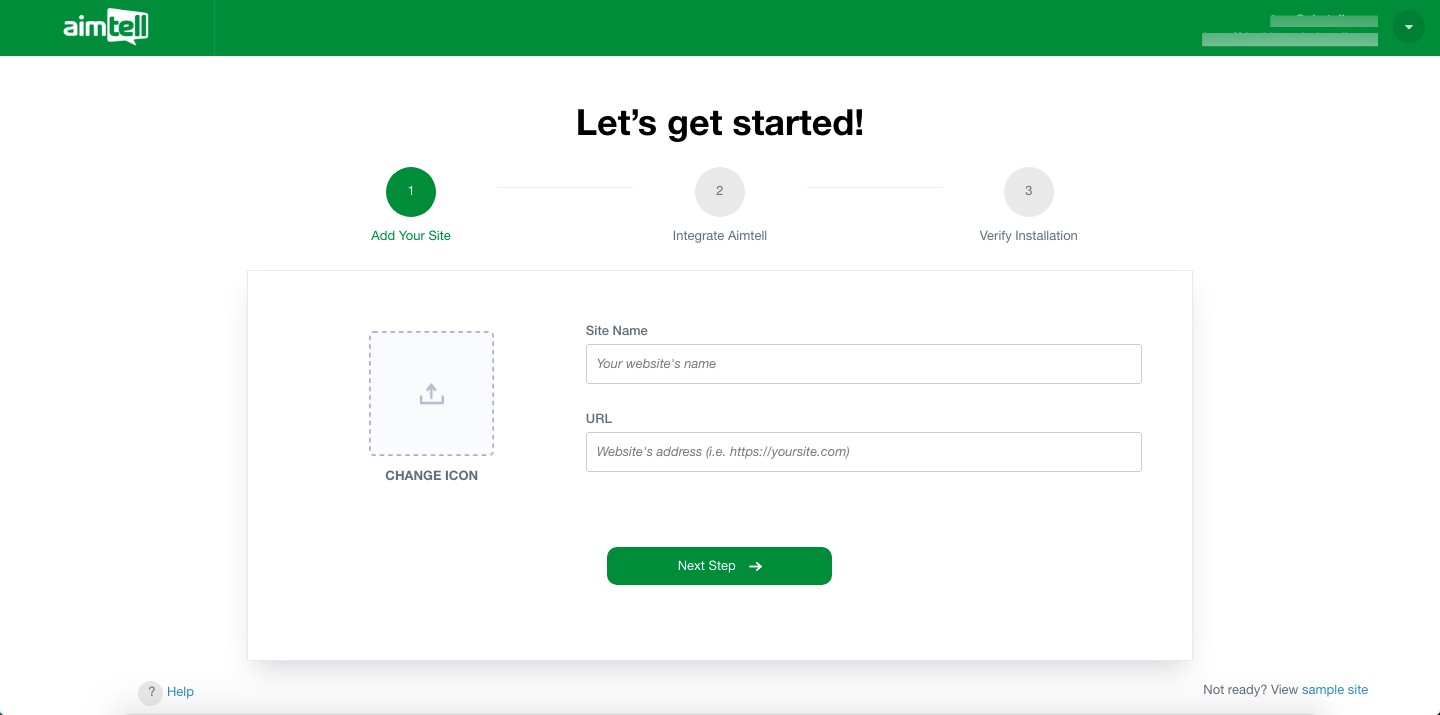
At this point you are presented with three areas to fill out:
- Icon - the default image you want to use for your push notifications. You'll be able to change it per campaign, but this will be a fallback.
- Name - a custom name for your site (this is shown to users on certain browsers such as Safari)
- URL - the URL of your site (be sure to include "https://" such as "https://aimtell.com") The majority of browsers require your website to support HTTPS in order to have visitors subscribe. If you are unsure if your website supports HTTPS, please refer to: This article.
Then click on the green 'Next Step' button.
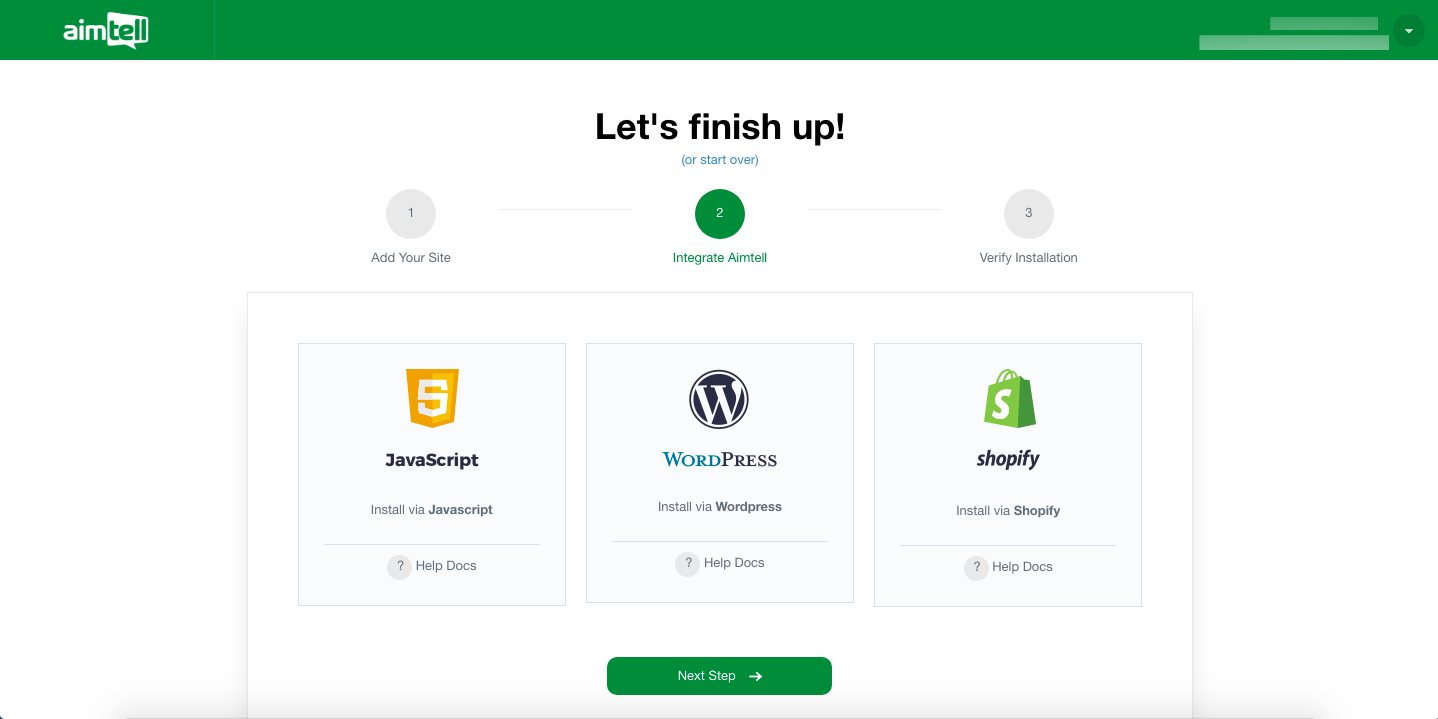
Once you are here click on the Javascript Panel.
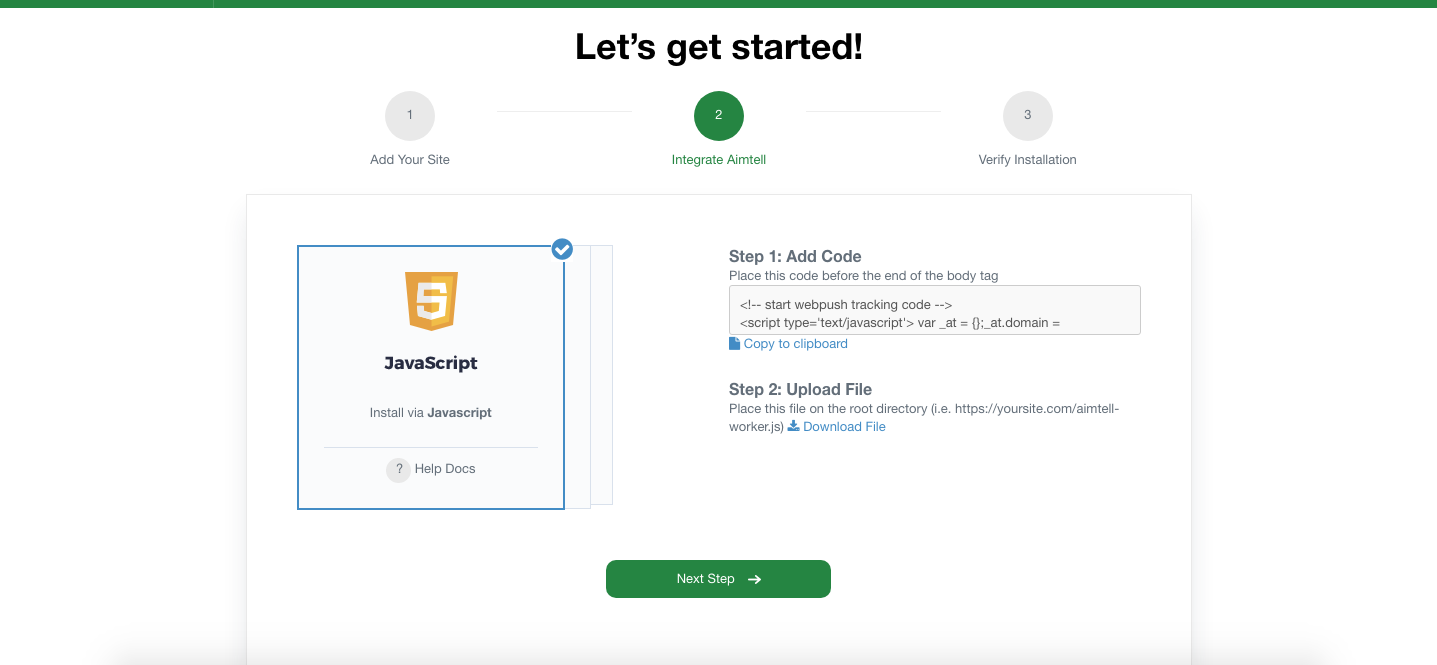
2. Upload the tracking code to your website
Once your site is ready you will need to install the tracking code and upload the required files. The tracking code will be displayed here in 'Step 1'. Copy and paste the snippet on the footer of every page you wish to track (note: you must install this on the homepage in order to properly work).
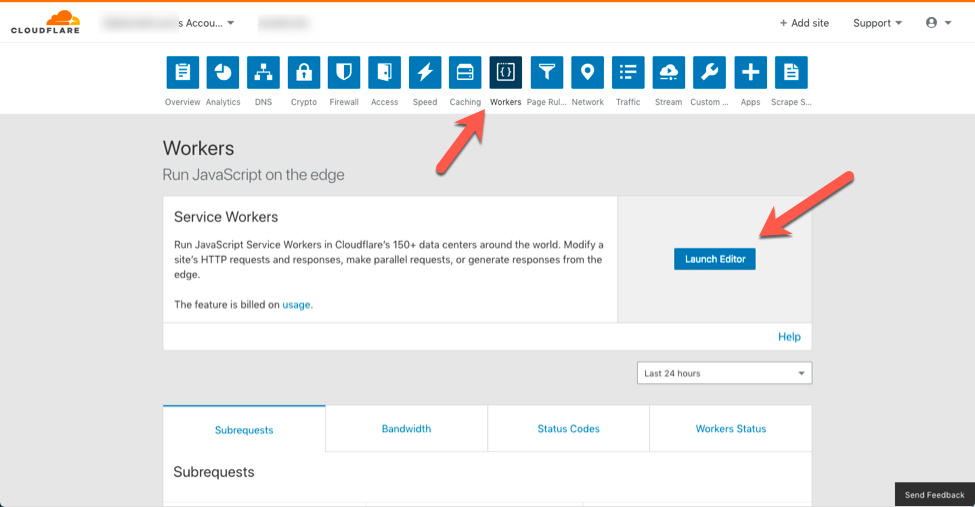
3. Install the aimtell-worker.js file in Cloudflare
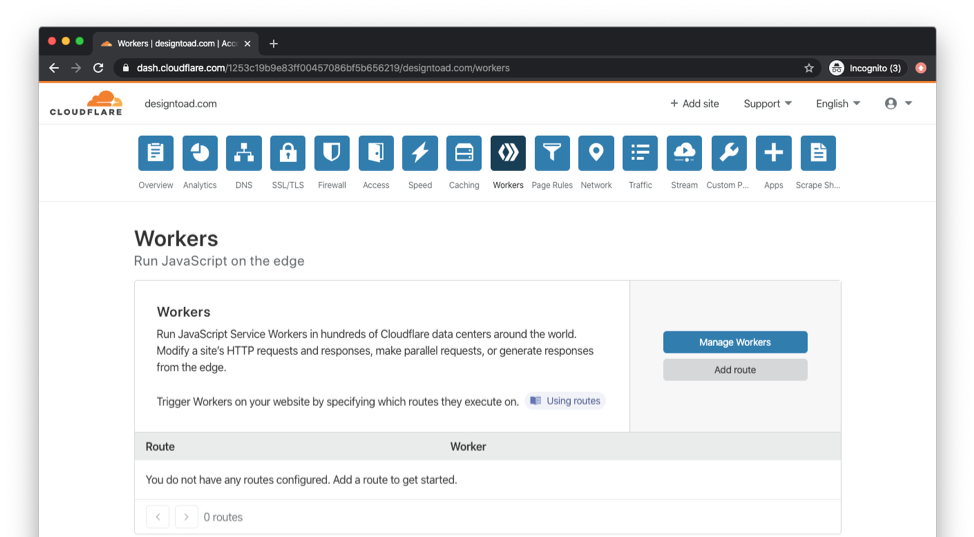
Next up, log into Cloudflare, select website and go to *Workers > Manage Workers *
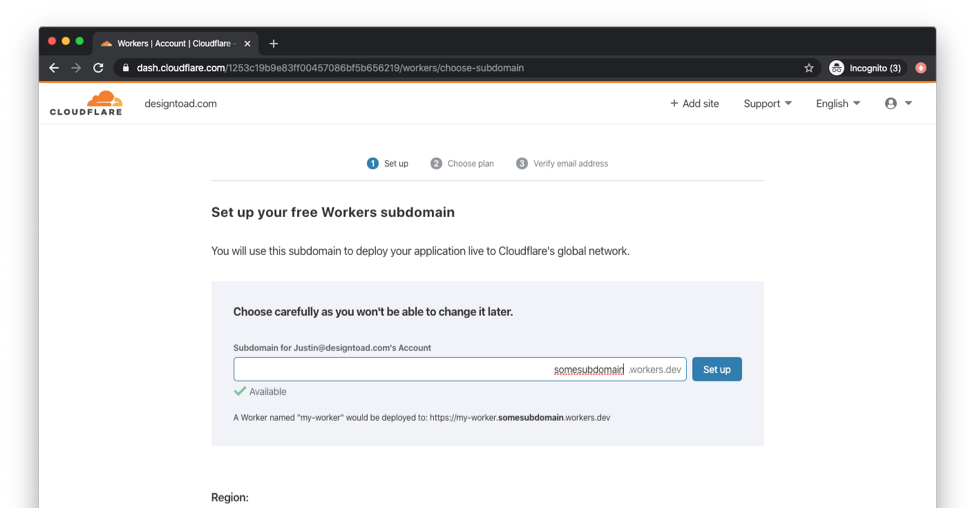
If prompted, set up subdomain for workers (might not be necessary for existing accounts)
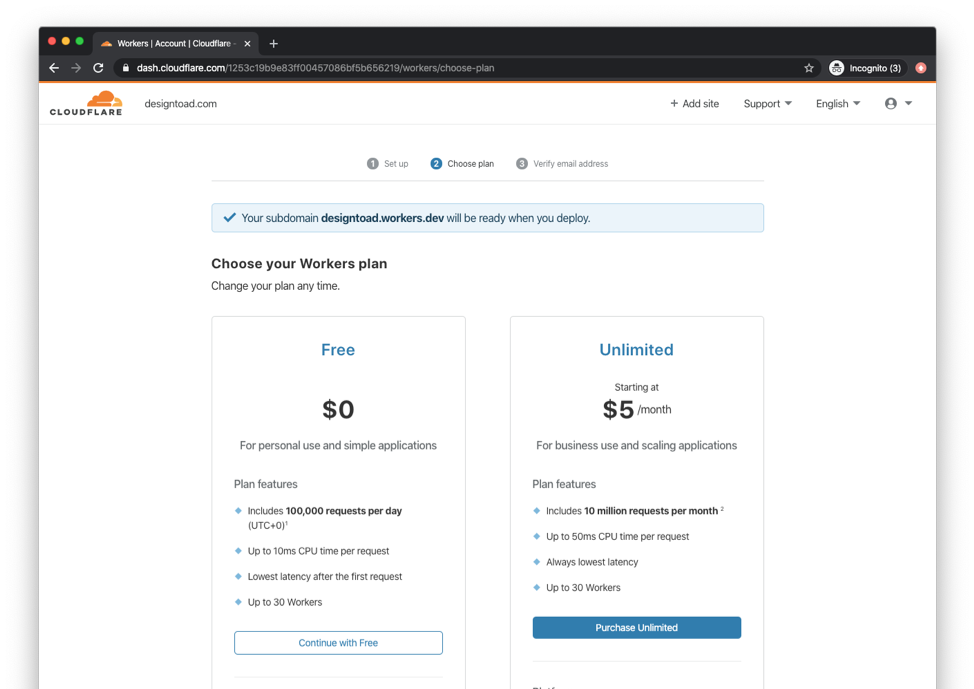
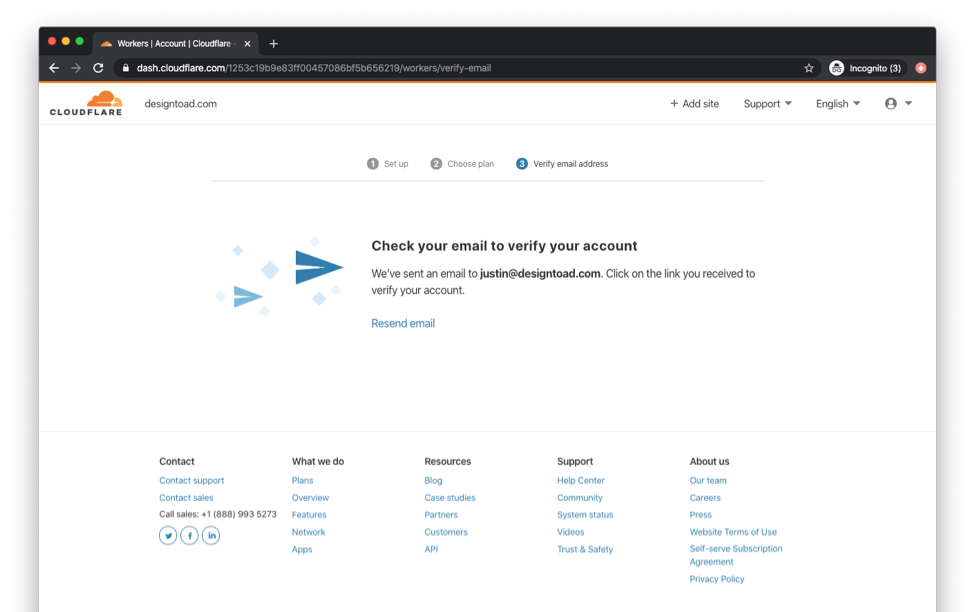
If prompted, select plan and verify email address (might not be necessary for existing accounts)
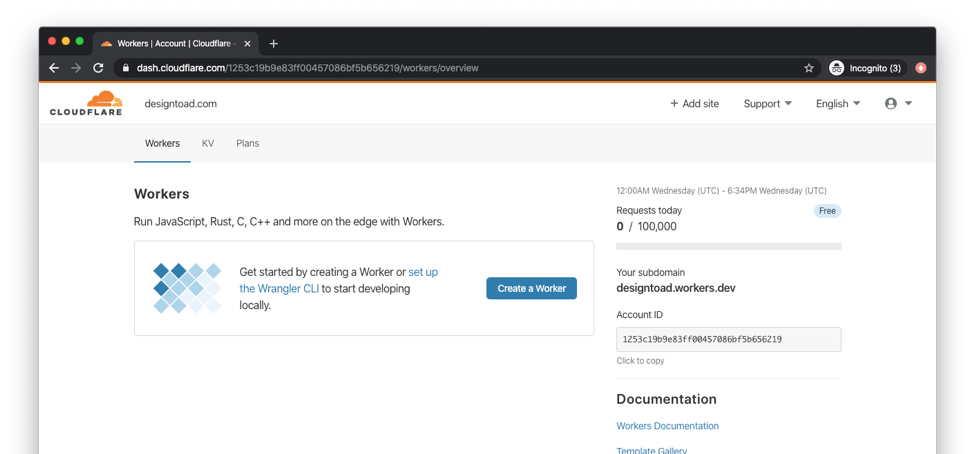
Select website from top nav and go to *Workers > Manage Workers > Create a Worker *
Edit scripts section (copy and paste code snippet) > *Save and Deploy *
/*** Add listener*/addEventListener('fetch', event => {event.respondWith(fetchAndLog(event.request))})/*** Fetch remote* @param {Request} request*/async function fetchAndLog(request) {var url = request.url;if(url.includes("aimtell-worker.js")){request = "https://cdn.aimtell.com/sdk/aimtell-worker-sdk.js";}return(fetch(request));} 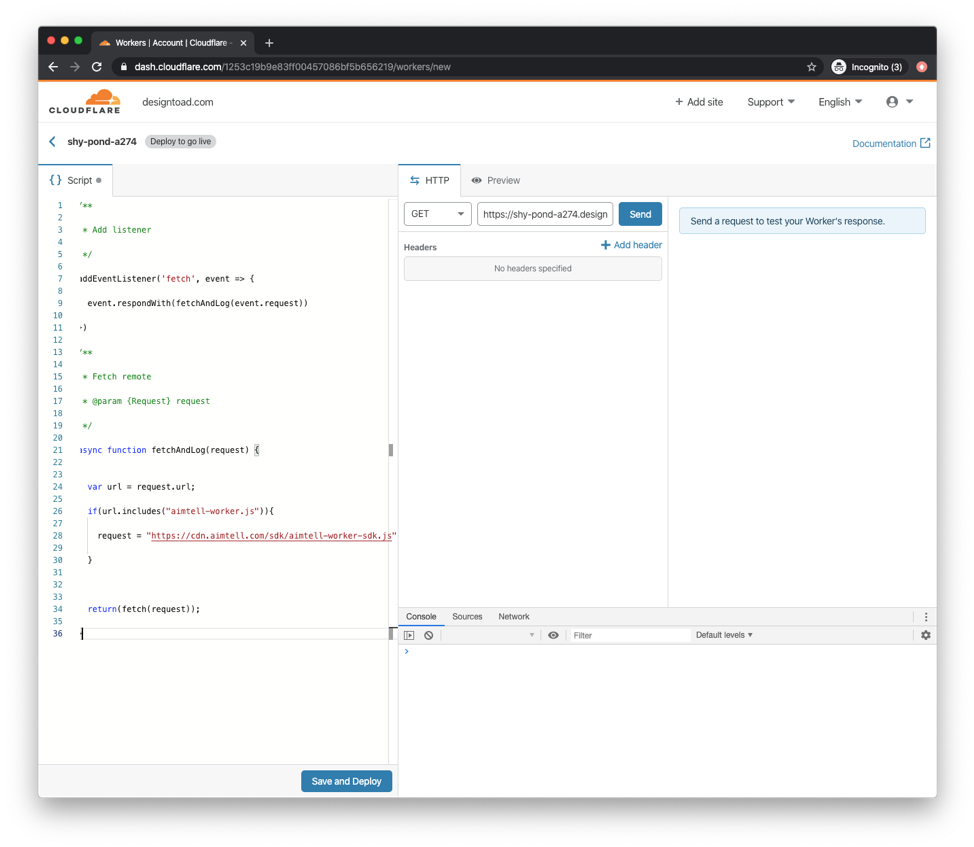
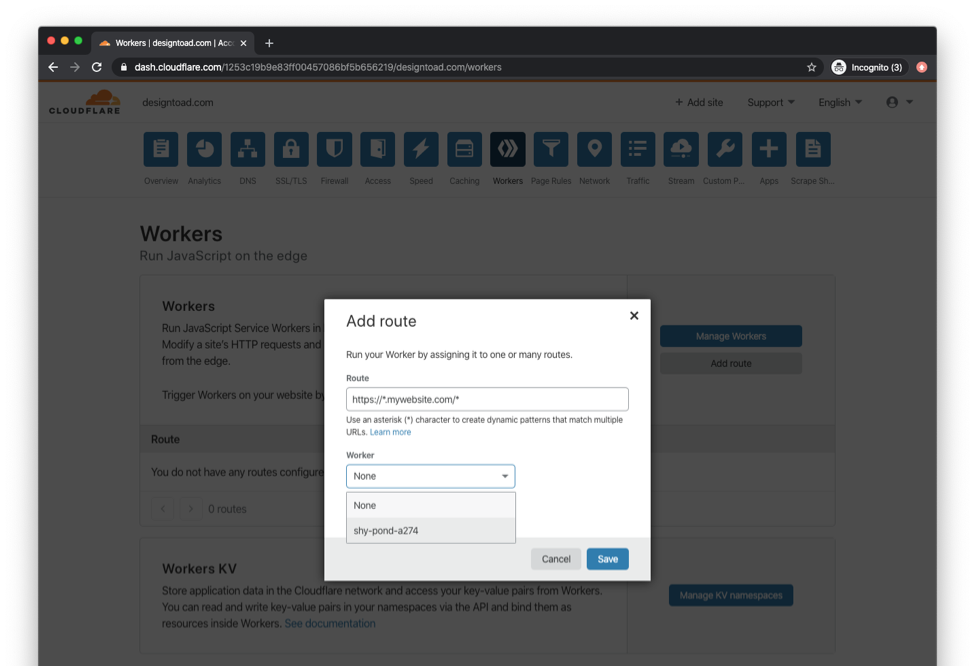
Select website from top nav and go to *Workers > Add route *
Add a route, select, select the worker that you just created, and *Save *
 *
*
It should look like this:
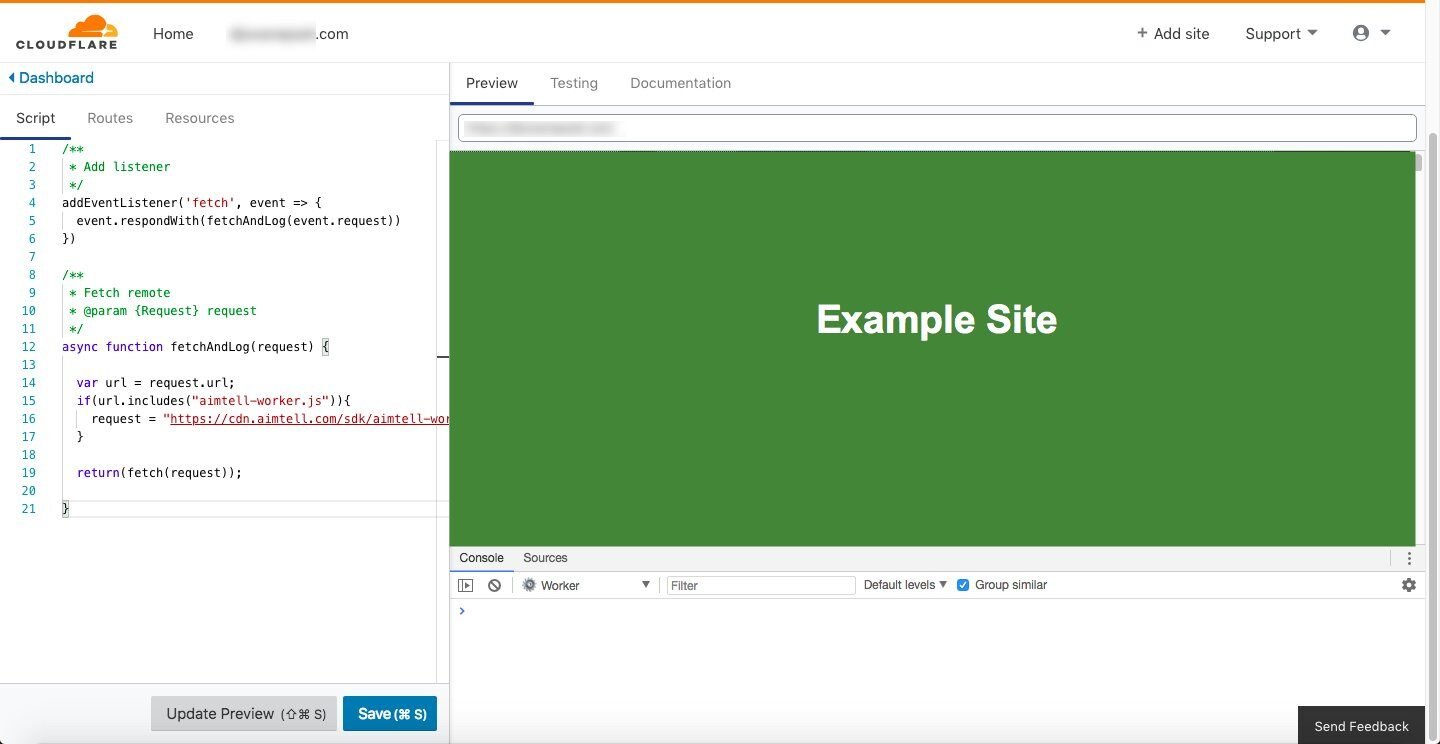
Additionally, check the routes tab and ensure it is set up like the following (replacing "yourdomain.com" with your domain.
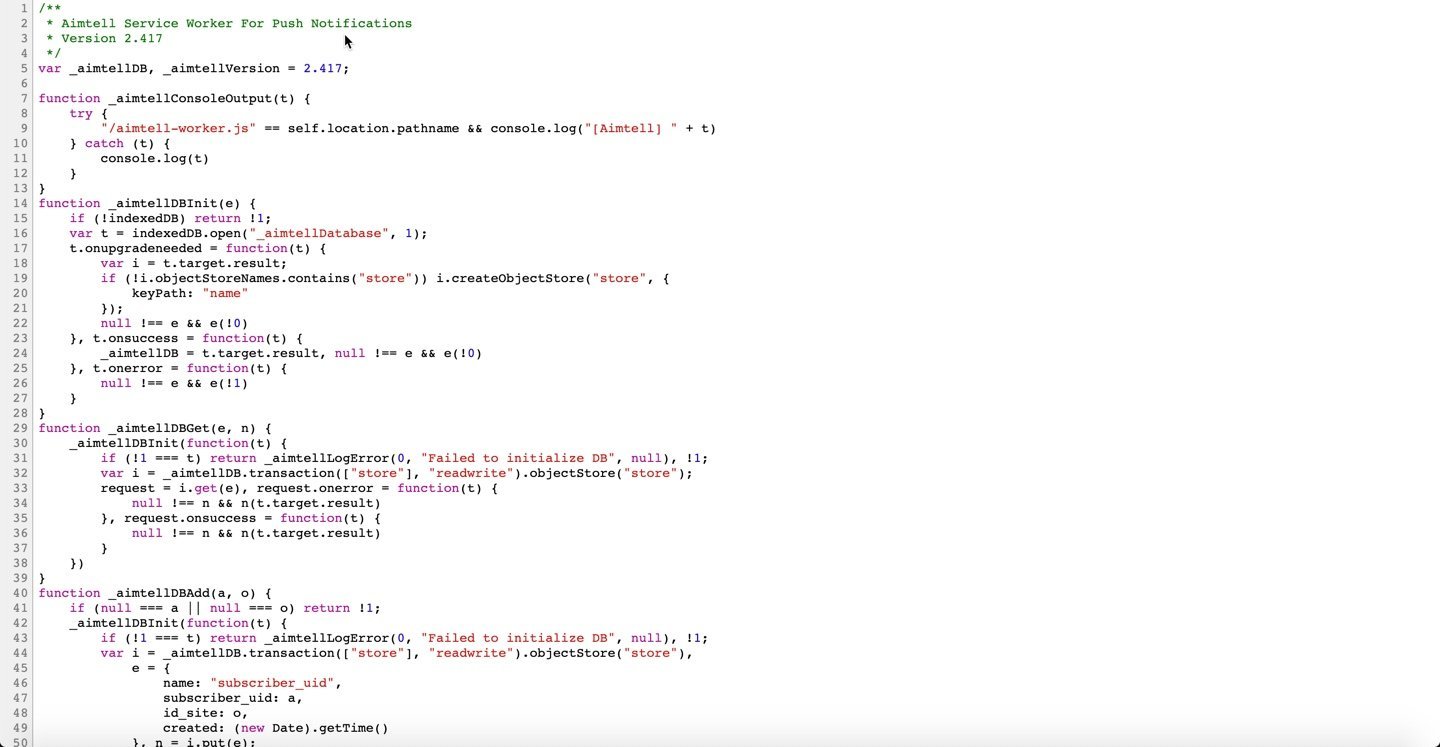
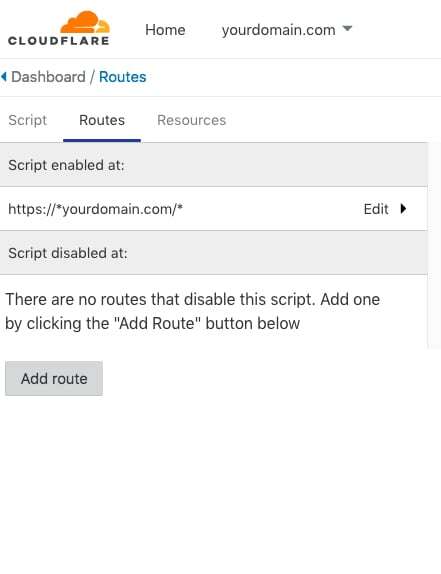 If done properly, visiting yoursite.com/aimtell-worker.js should now show some code
That's it!
Now your website should start prompting visitors to subscribe when they visit it. If you'd like to manage which pages prompt users to subscribe, check out Subscriber Permission Prompt Management
Note: Switching when you move to cloudflare you need to update nameservers which can take 24 hours and also that misconfigurations can cause sites to experience downtime.