
Learn how to setup your native or custom opt-in prompt with site wide logic.
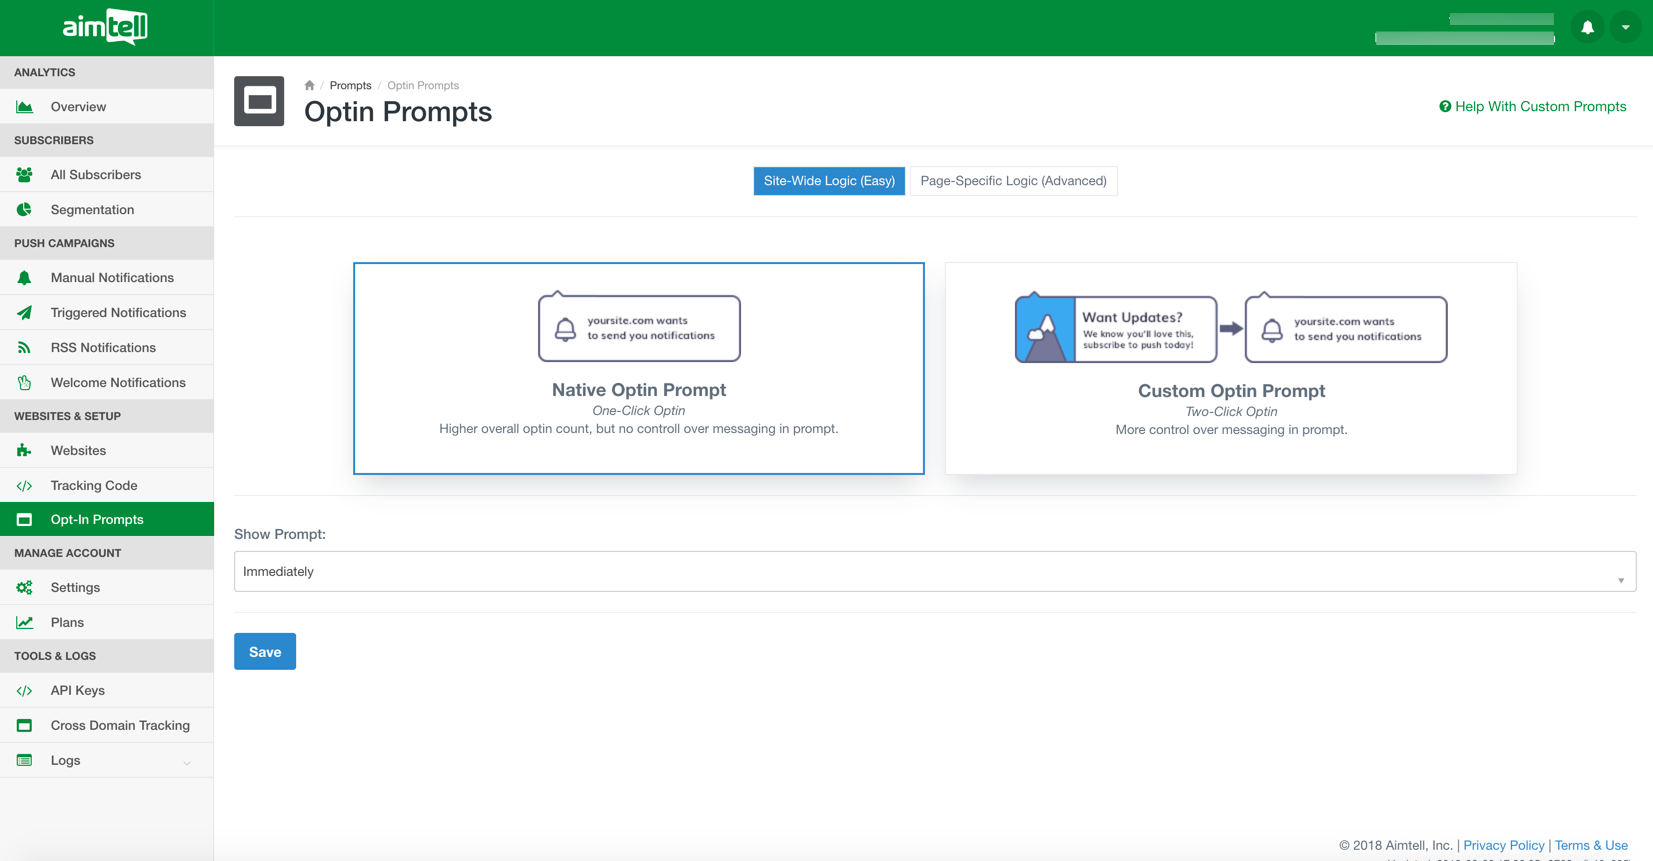
On your Aimtell dashboard select ‘Opt-In Prompts’, located in the navigation bar on the left side of the screen under ‘Websites & Set Up’.
Below is a screenshot of the native selected. You have the option to select this with both the native and custom opt-in prompts.
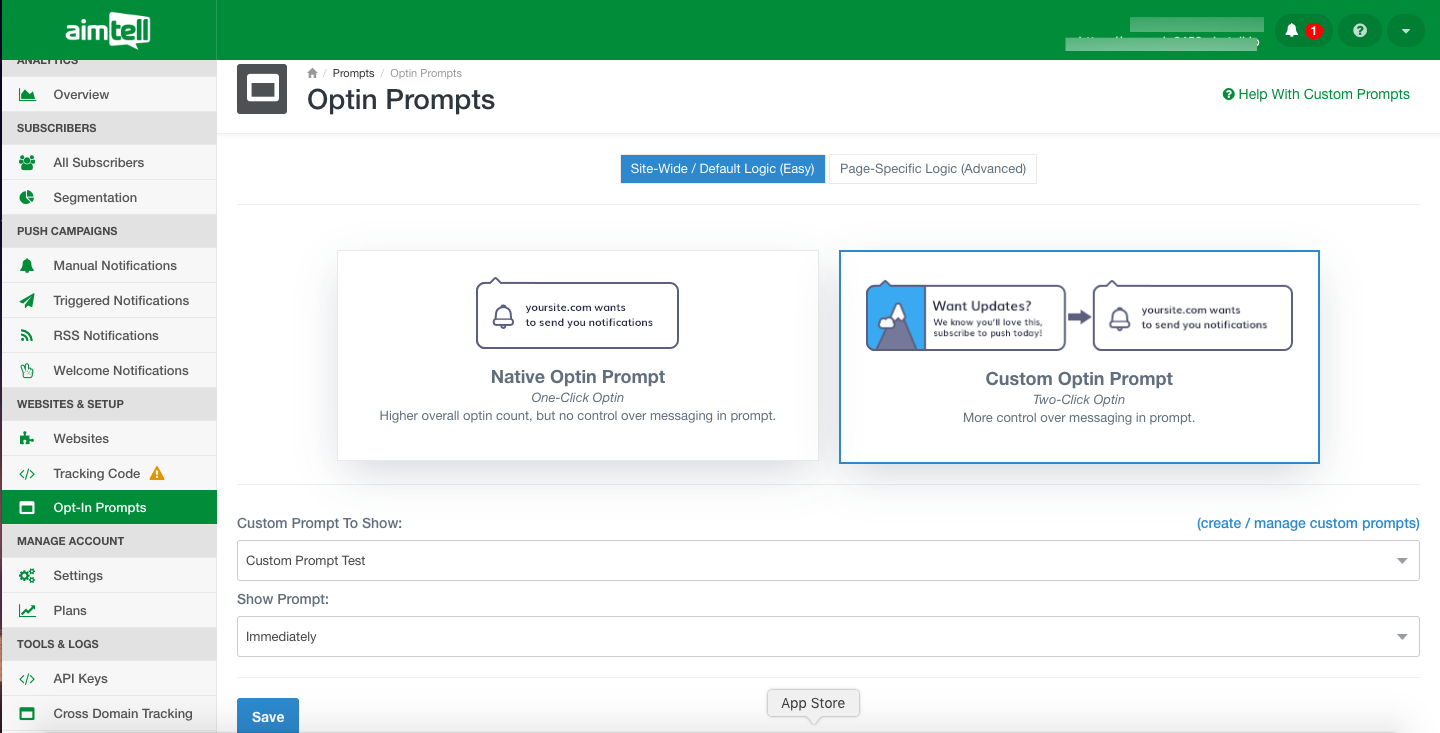
If you select 'Custom Opt-in Prompt', a drop down of Custom Opt-in Prompts that you have created will be displayed allowing you to choose the custom prompt you would like to use.
After selecting either the native or the custom prompt you will need to select when you would like the prompt to show.
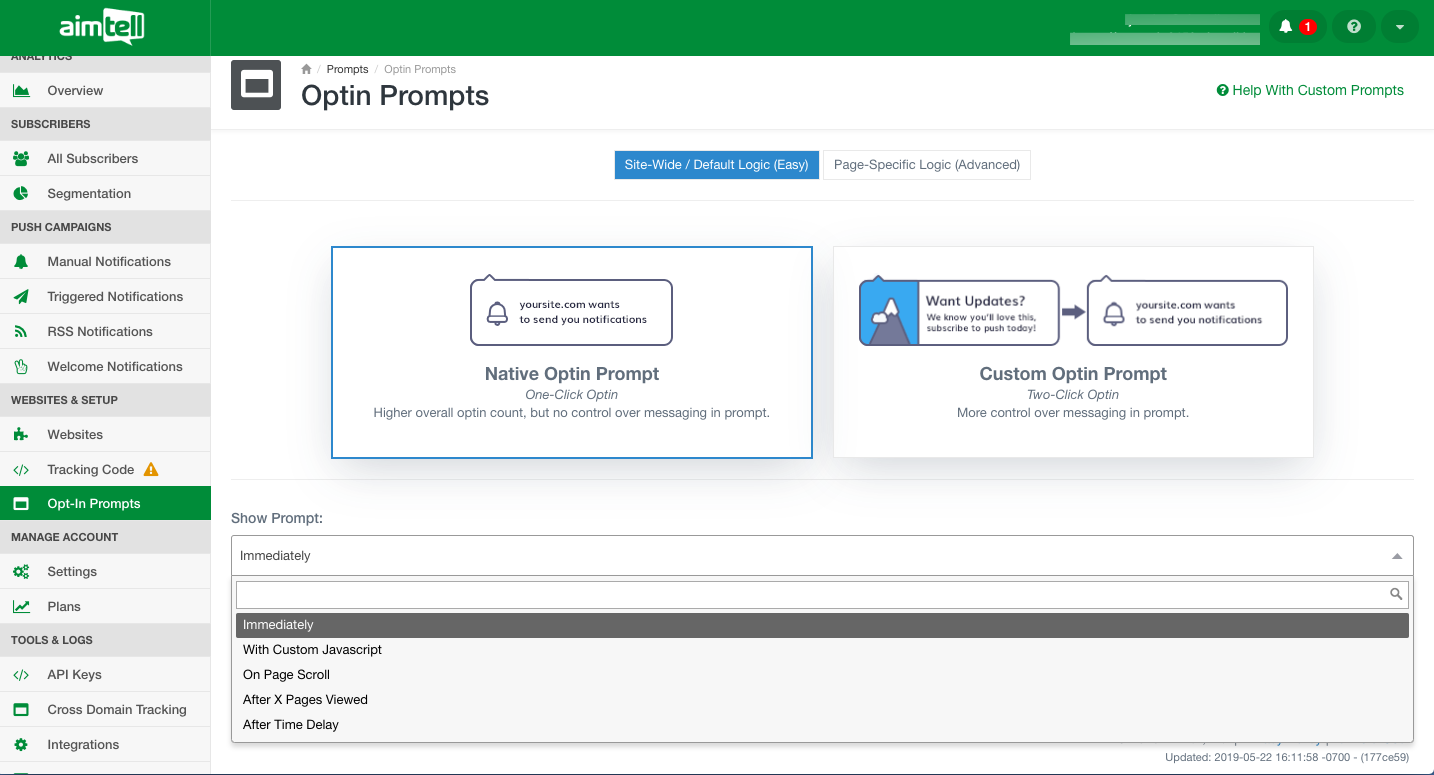
There are six options to choose from for both the custom and native prompt.
- Immediately: Opt-in prompt will display immediately once an individual visits your site.
- With Custom Javascript: Trigger the opt-in prompt programmatically at a time you determine.
- On-Page Scroll: A certain percentage of the page needs to be viewed before the prompt appears.
- After X Pages Viewed: A certain amount of pages need to be viewed before the prompt appears.
- After Time Delay: A certain amount of time elapses before the prompt appears.
- Disabled: The prompt will not appear at all.
Select the option you want, input necessary information if needed (such as scroll percentage, time delay, etc.) press save, and you’re done!
If you want to learn about more advanced prompt options, read our documentation on page or browser-specific logic. You can also learn about custom opt-in prompts in our creating a custom opt-in prompt documentation or learn how to customize the opt-in prompt with CSS.