Sending Test Push Notifications
Sometimes you may find the need to send yourself a test push notification before sending it out to your subscribers. Perhaps you are testing variables in your push, a link or maybe you just want to see how your notification looks like to the subscriber. Luckily, sending test notifications is very easy.
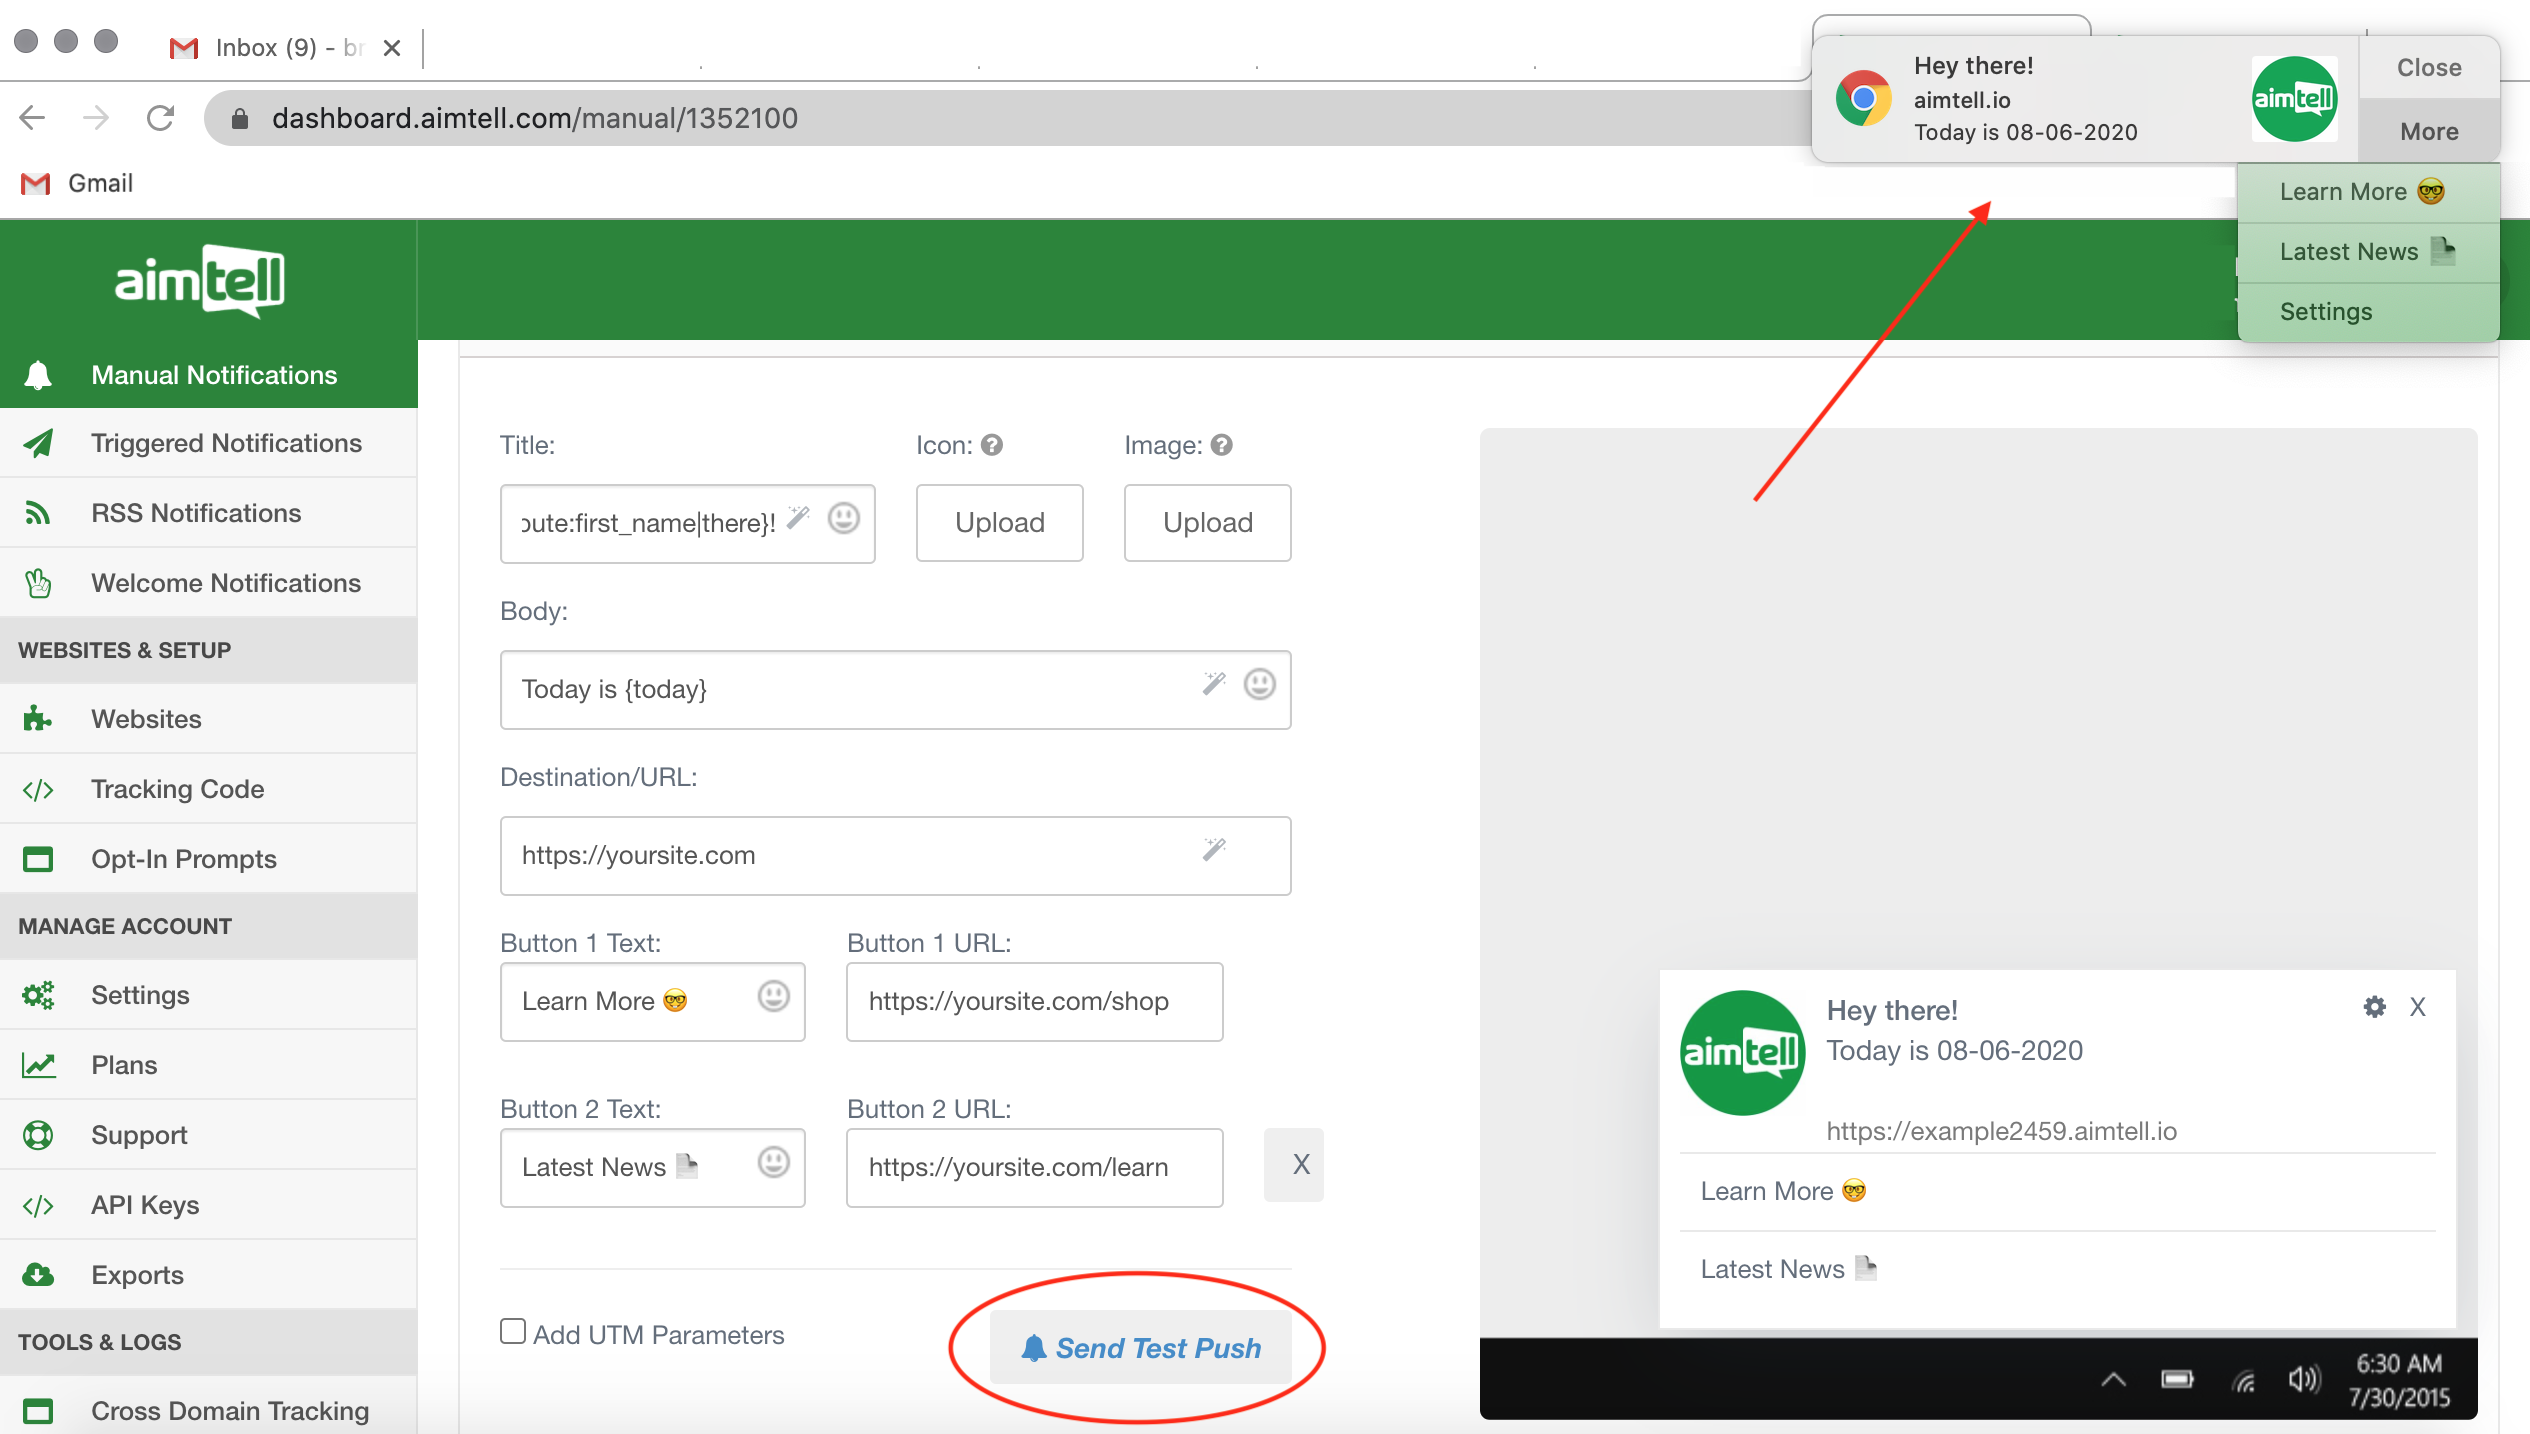
There are two main ways to test notifications. The first way is to simply use the preview window as you are building a campaign and hitting the ‘send test push’ button. This will send a real preview to you of what the campaign will look like. This test feature allows you to test all elements of a push campaign that you might wish to use, including action buttons and variables.
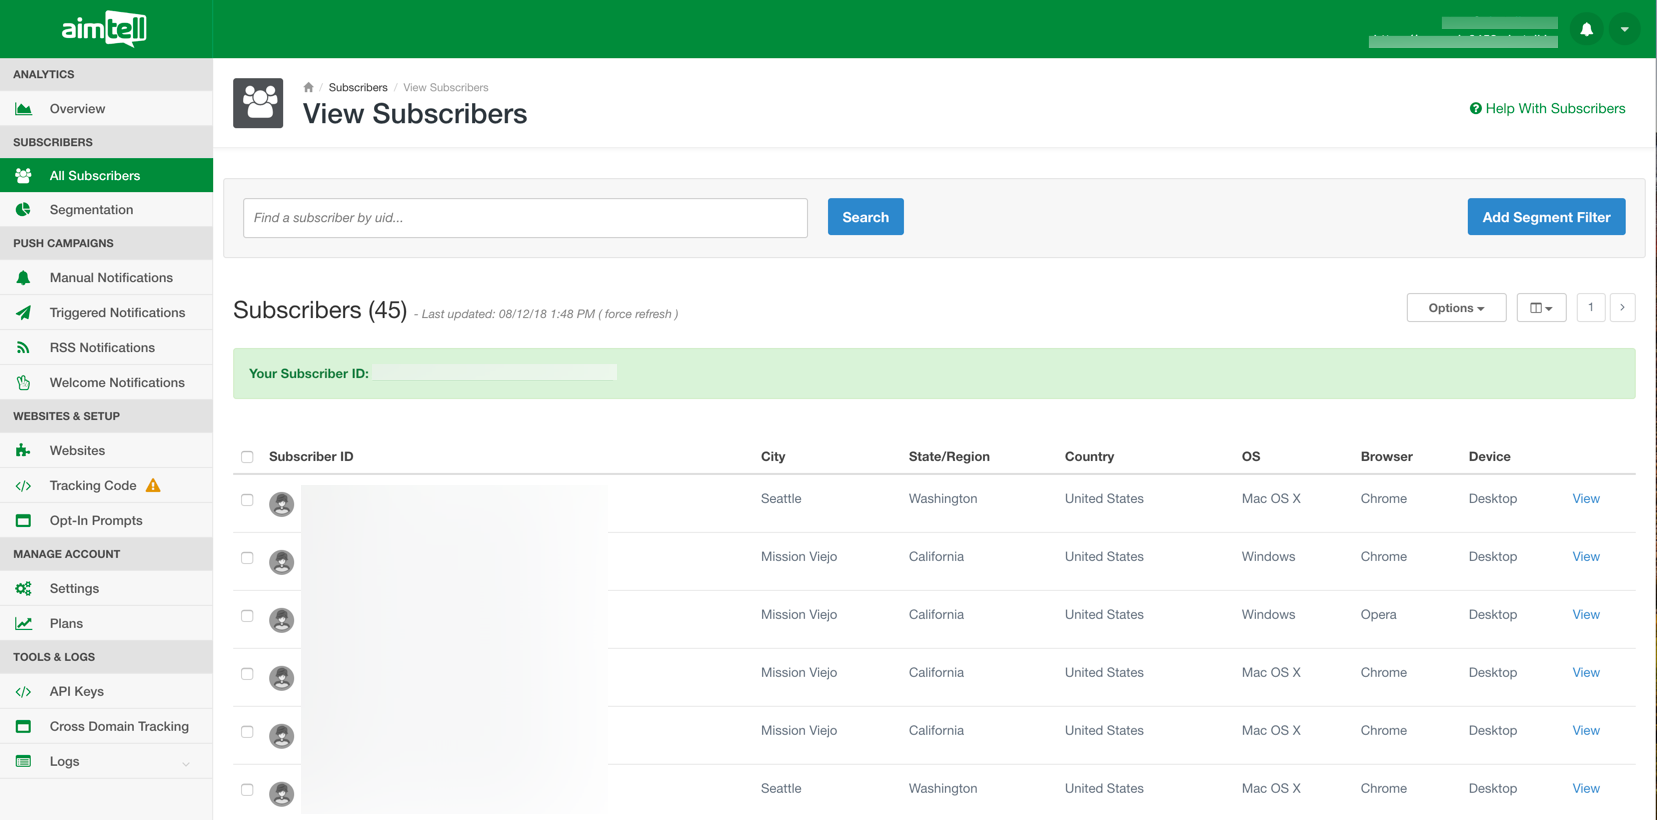
The second way to send a test notification is to send an actual push notification to yourself. In order to do this, first, you'll need to track yourself down within the dashboard. The easiest way to do this is to go to "All Subscribers" and your subscriber ID will appear in green in the middle of the page. If the subscriber ID says 'Unknown', try visiting your website and then refreshing the page so your subscriber ID displays. If you have not previously subscribed, opt-in to your site, and be sure to click "Allow" at your notification prompt.
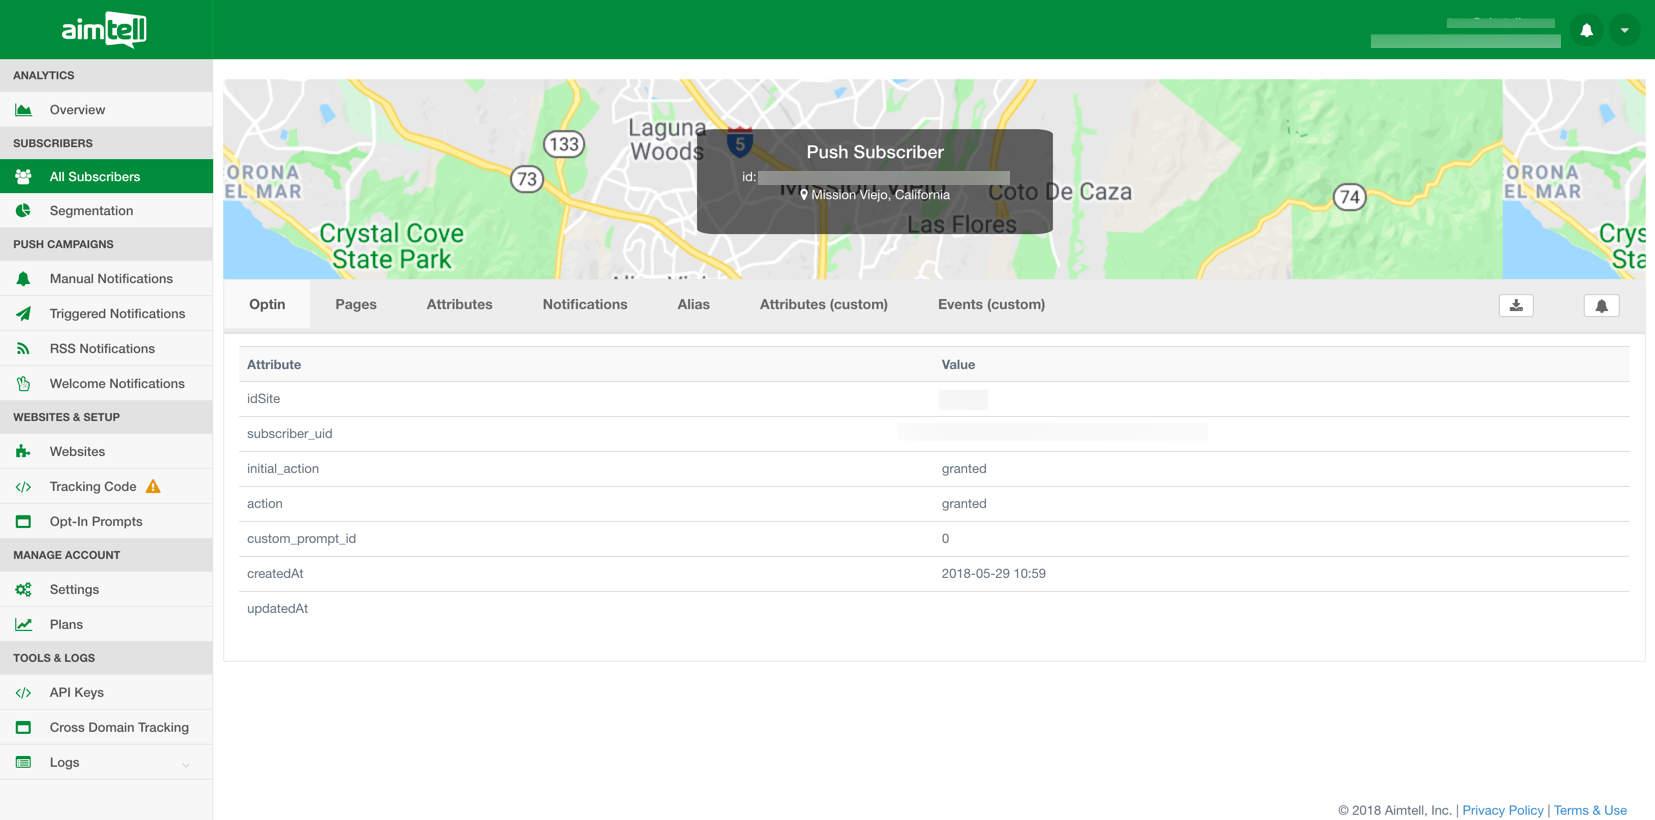
Next, click your "subscriber ID", which will take you to an individual subscriber profile.
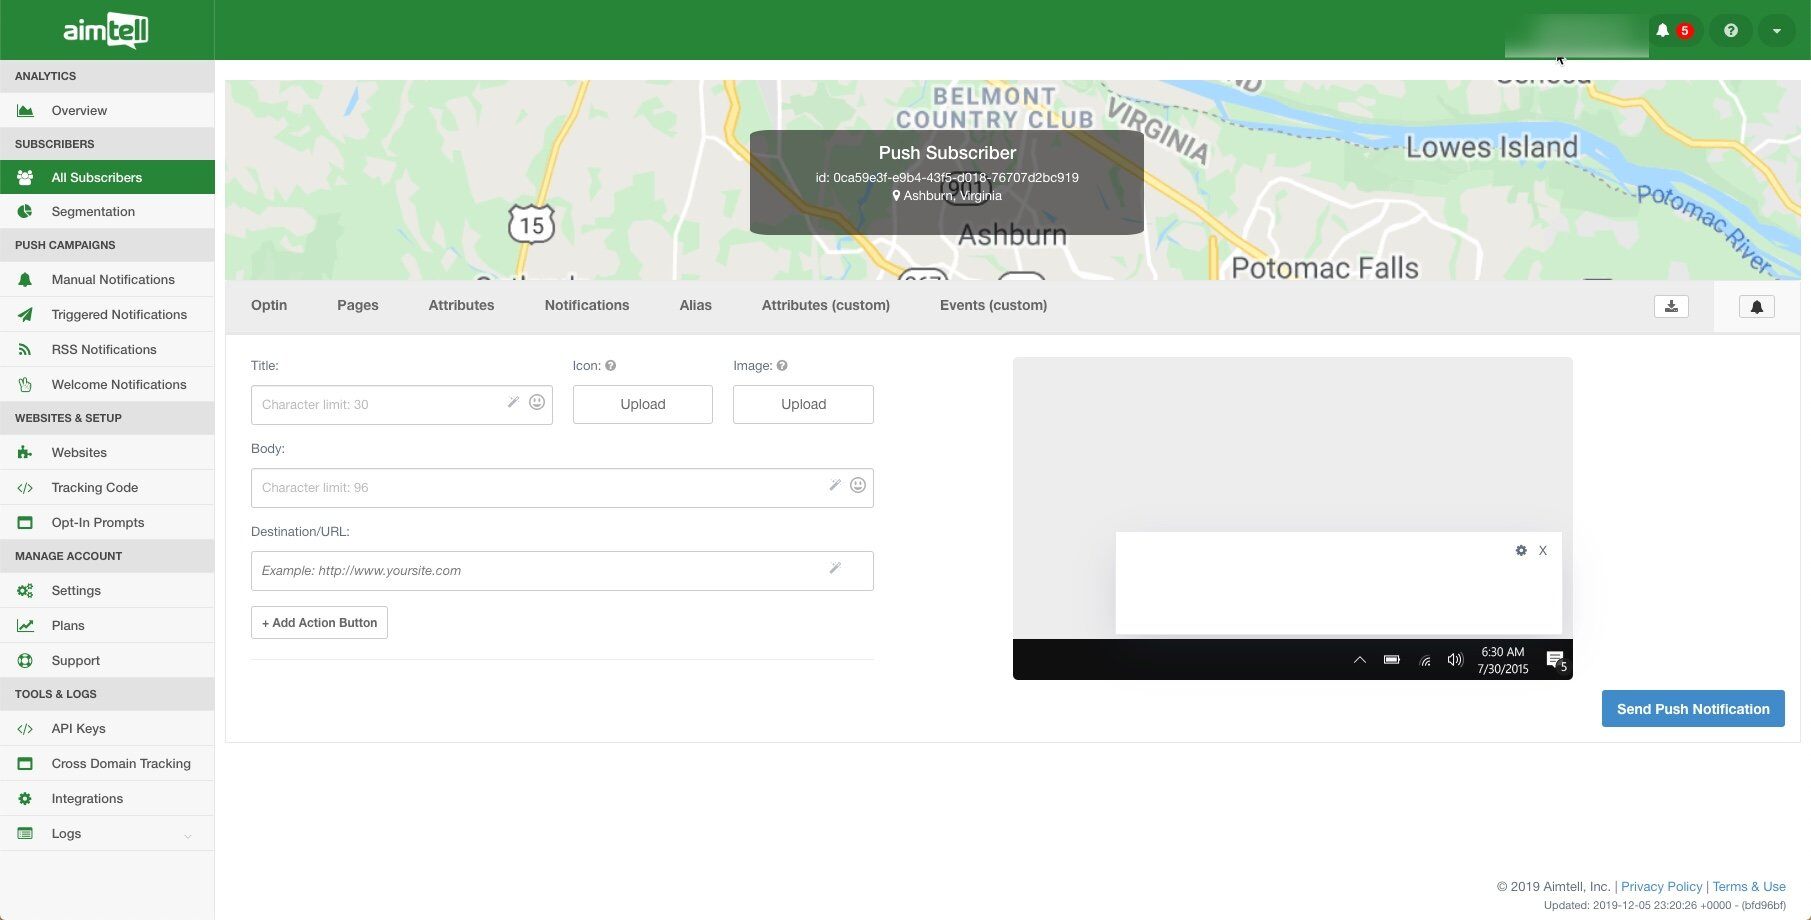
Once on the subscriber profile, click the bell icon. Here you can specify any message you'd like to send to yourself.
Advanced:
If you'd like to send a test push to multiple devices or to your colleagues, you can find their subscriber IDs as mentioned above and give them custom attributes by clicking on the 'Attributes (custom)' tab. (See image below)
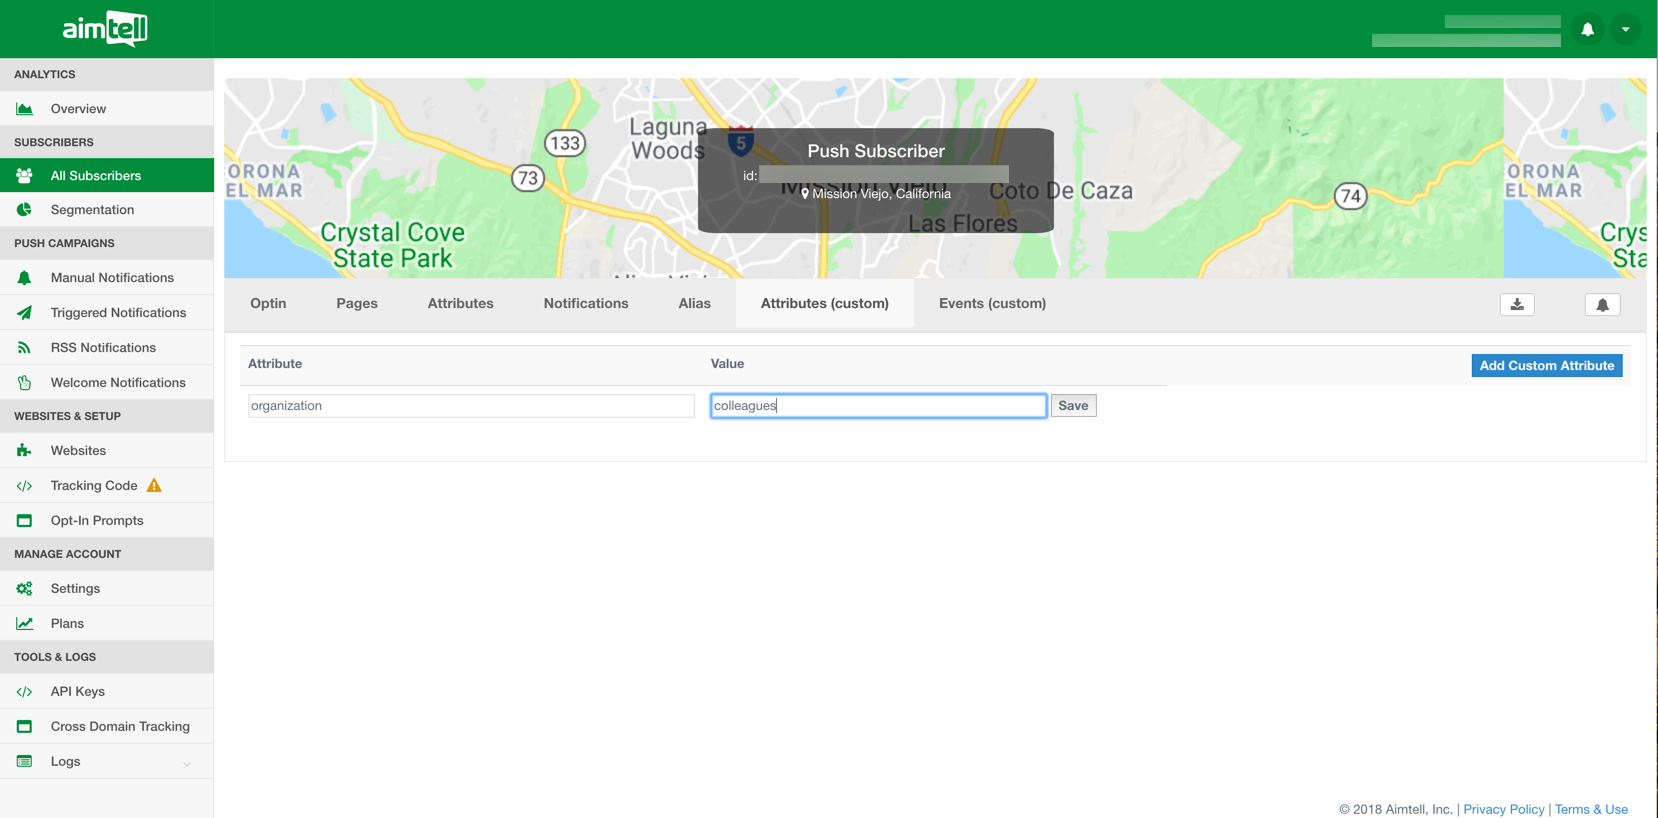
Once you have added custom attributes you can then segment those subscribers in a Manual Campaign to test a push!

