Creating a Segment
In this document, we are going to show you how to set up a segment. A segment is a group of people that you can send push notifications to. They are also extremely valuable for advanced analytics and optimizations for your subscribers.
View Your Segmentation List
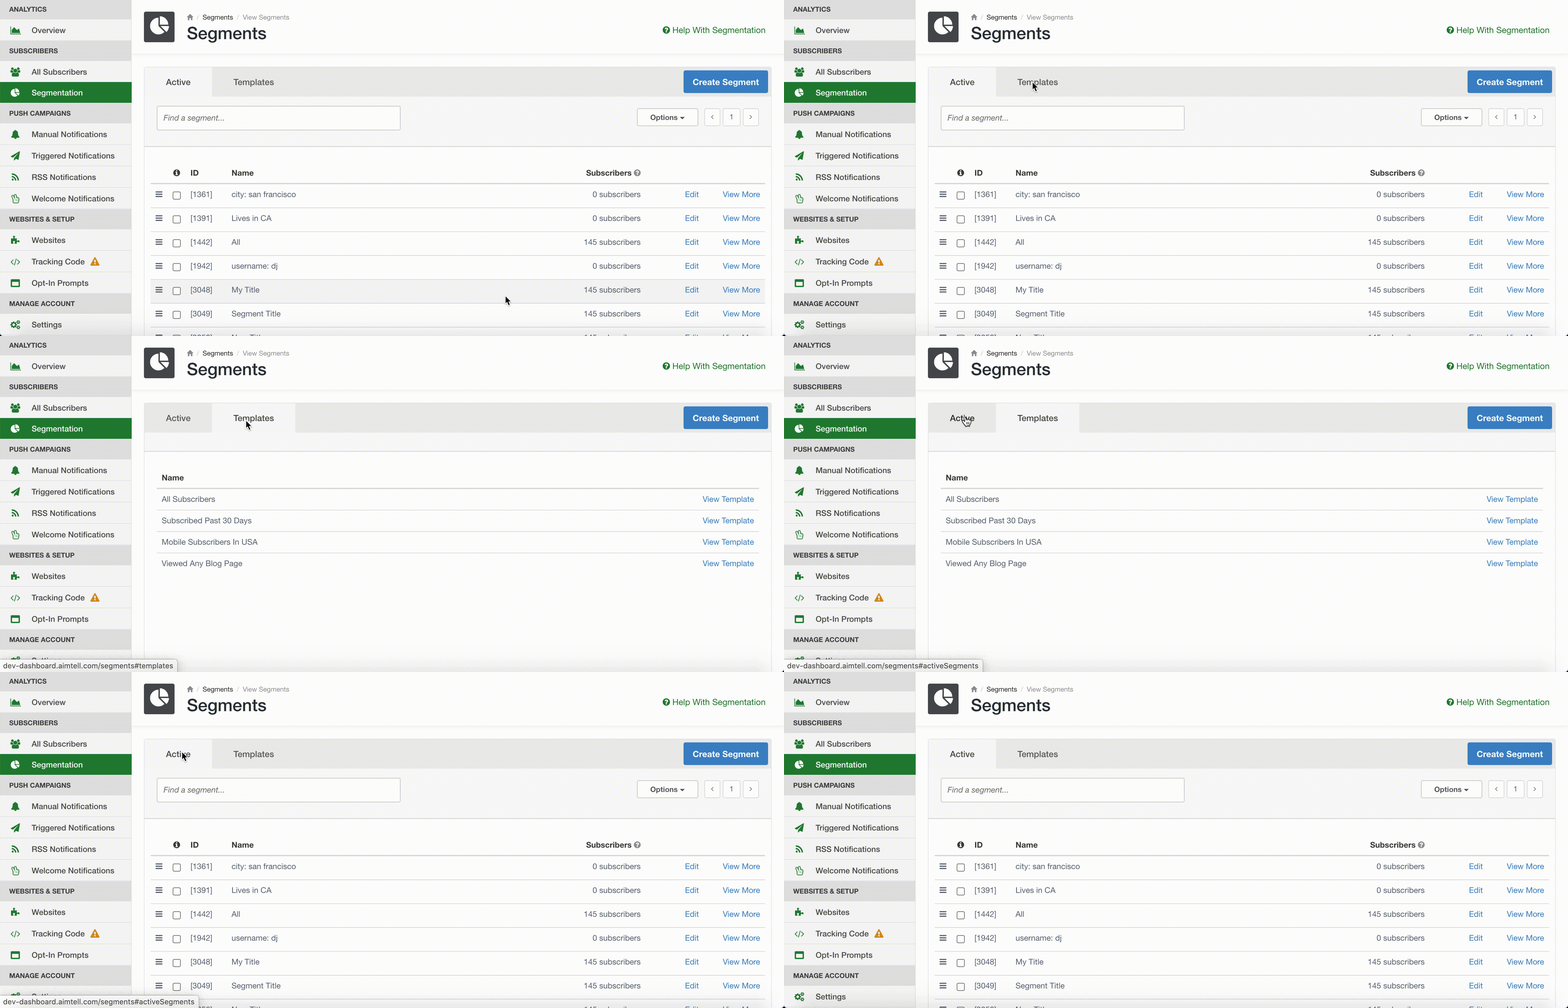
From your dashboard select ‘Segmentation.’ Here you will see your existing list of segments. There is also a templates tab that features some examples that will give you an idea of the types of segments you can create.
Select any of the templates by hitting 'View Template' and if you would like to use it, select 'Use Template.' This will add the segment to your existing list of segments.

Build a New Segment
To create a new segment, select the blue ‘Create Segment’ button at the top right of the screen. Building a segment consists of adding various segment conditions until you get the segment you are looking for.
There are 8 different segmentation categories for creating a segment: Page Views, Visit, Location, Campaign, Device Info, Segment, Custom Events, and Custom Attributes. Head to our Segmentation Options doc for a full list of options available to you.
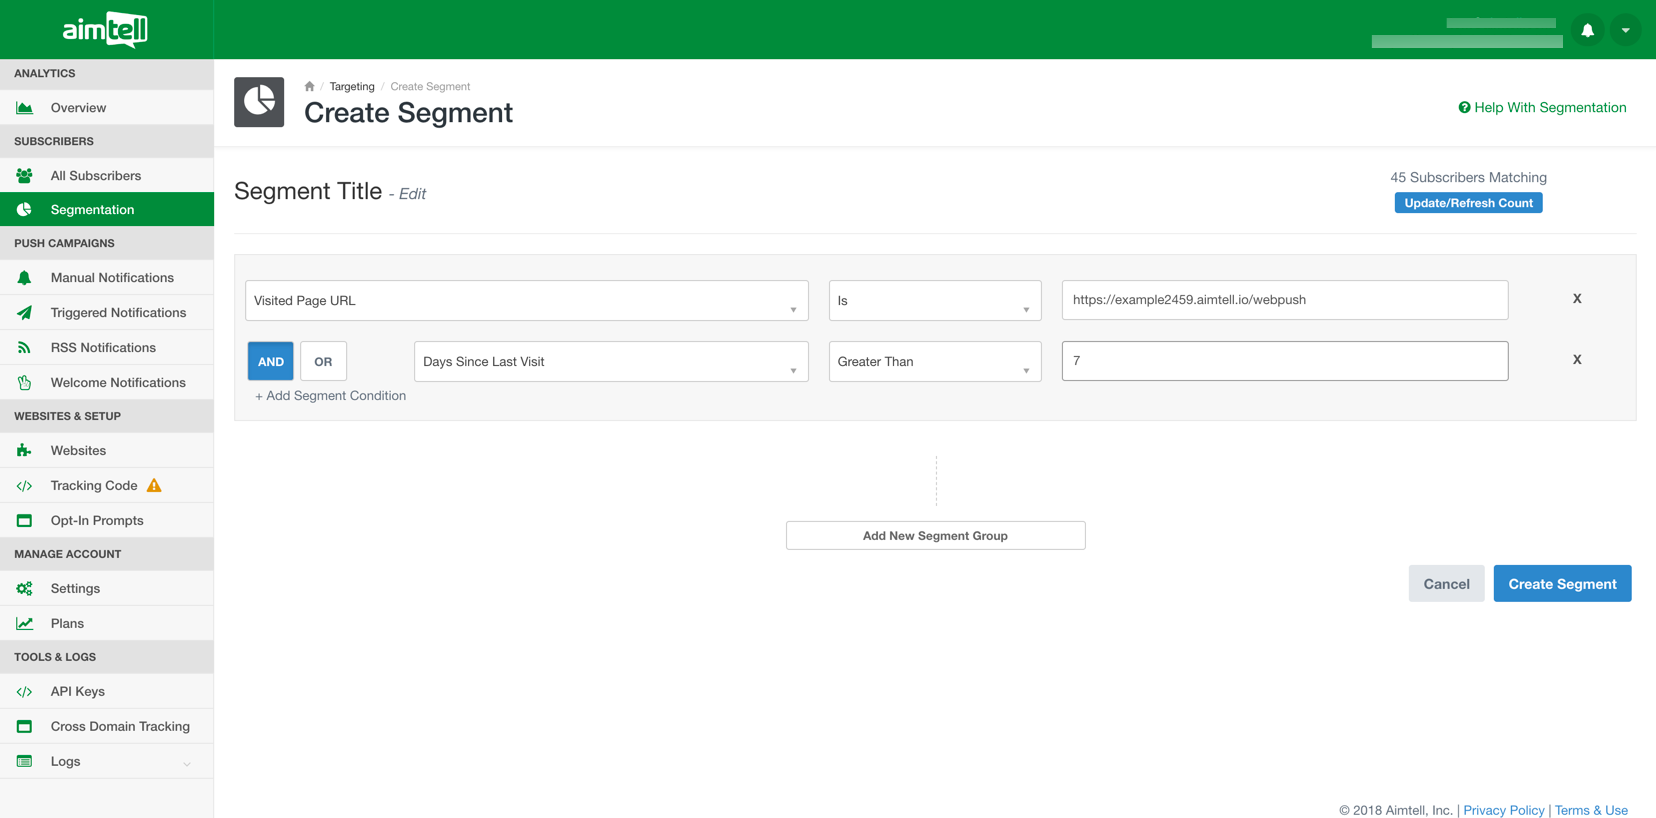
To start building, hit ‘Add New Segment Group’ and then select the desired drop-down for the condition you wish to use for your segment and type in the necessary information to filter your subscribers. For example, you could create a segment of subscribers who have not viewed a certain page at your website in over 7 days:

Tip: If you're not sure what to write, our auto-populate feature can help! Click in the 'segment condition' box and a list of suggestions will appear. This includes conditions that call in information from other segments or other campaigns.
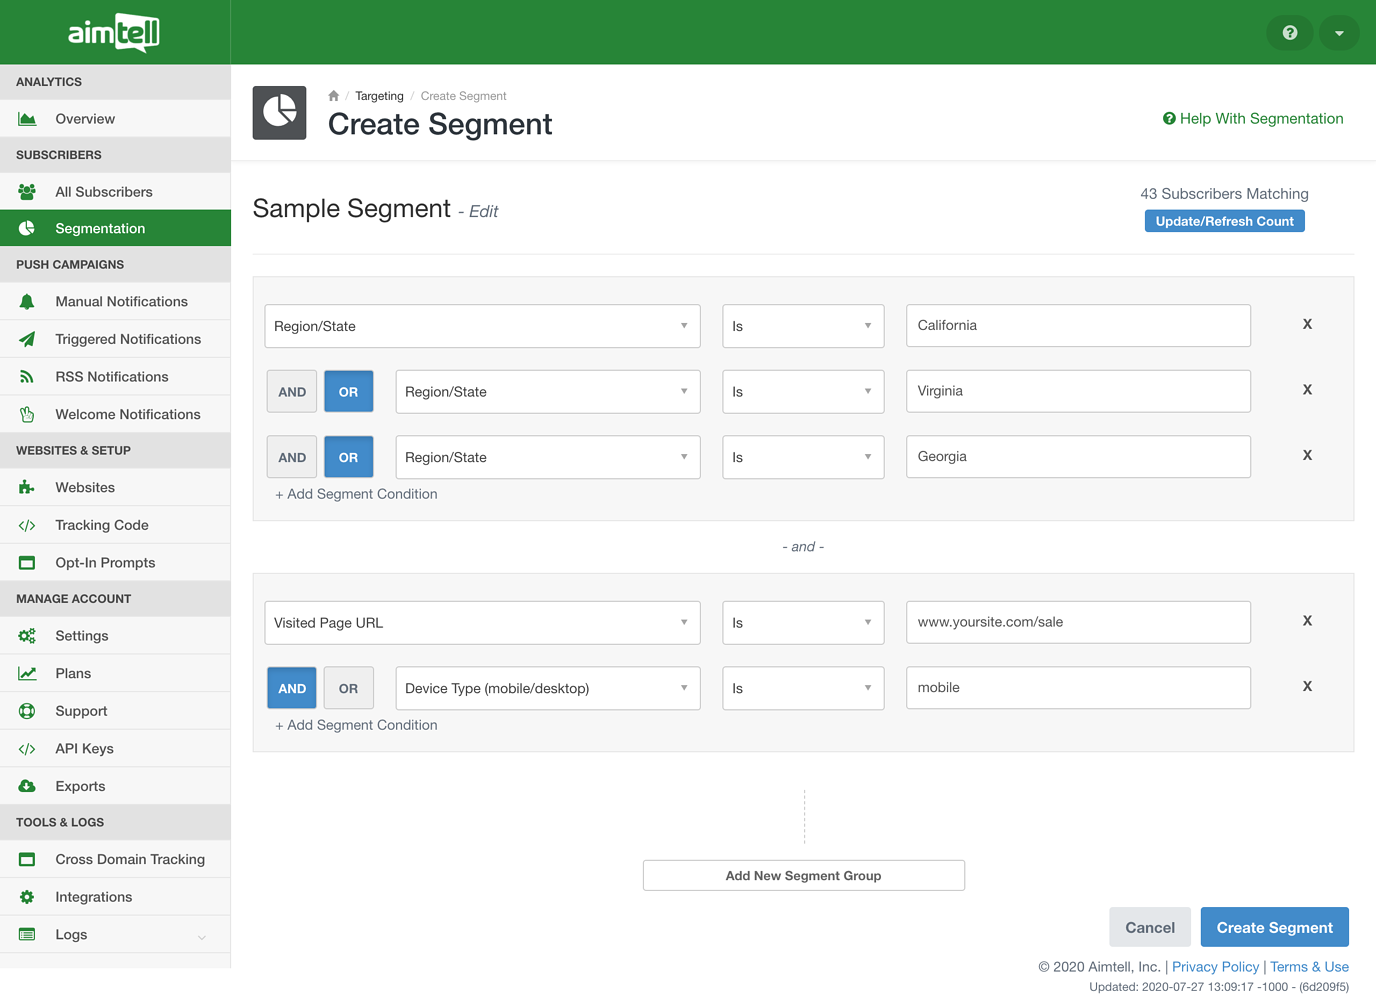
You can target people based on several different conditions by using AND/OR logic. For example, you can set an OR condition in order to target people in different locations (California, Virginia, or Georgia for example).
You can also add more than one segment group in order to target subscribers who meet other requirements, such as visiting a sales page on your website and using a mobile device.
 You can input as many conditions as you want within a segment group.
Finish Your Segment
When you are finished, hit ‘Create Segment.’ That’s it! You now have a dynamic and historic segment available for targeting and analytics. Existing users who meet the criteria will be historically added to the segment, and new users will automatically be included if they meet the given criteria.
Other Segmentation Information
- Viewing Segment Performance: Click 'View More' next to any segment to view the list of subscribers currently in the segment, as well as campaigns that are connected with the particular segment. You can download a report of the segment or the subscribers specific to this segment if you wish.
- Bulk Delete Segments: From the full list of segments, select which segments you wish to delete and hit 'Delete Segment(s)' from the Options menu. You will be alerted if you attempt to delete a segment that is currently being used in a repeating or triggered notification.
- Copy Segments: Select the segment you wish to copy and from the Options menu hit 'Copy Segment.' Switch to the website you'd like to use the segment at, click 'Segmentation' and then from the Options menu hit 'Paste Segment.'
