Push Data API
Aimtell users can set up custom external pushes which will utilize external data to create personalized, dynamic push notifications at scale.
If you are unsure what to do or whether this feature is for you - please don't hesitate to reach out to Support for more info!
Step 1: Enable the Integration
To begin you first need to enable the integration. From the dashboard, select ‘Integrations’ and choose ‘Push Data API.’
Set the status to Enabled and hit save. The integration will now be available to use when creating a new campaign.
Step 2: Create a New Campaign
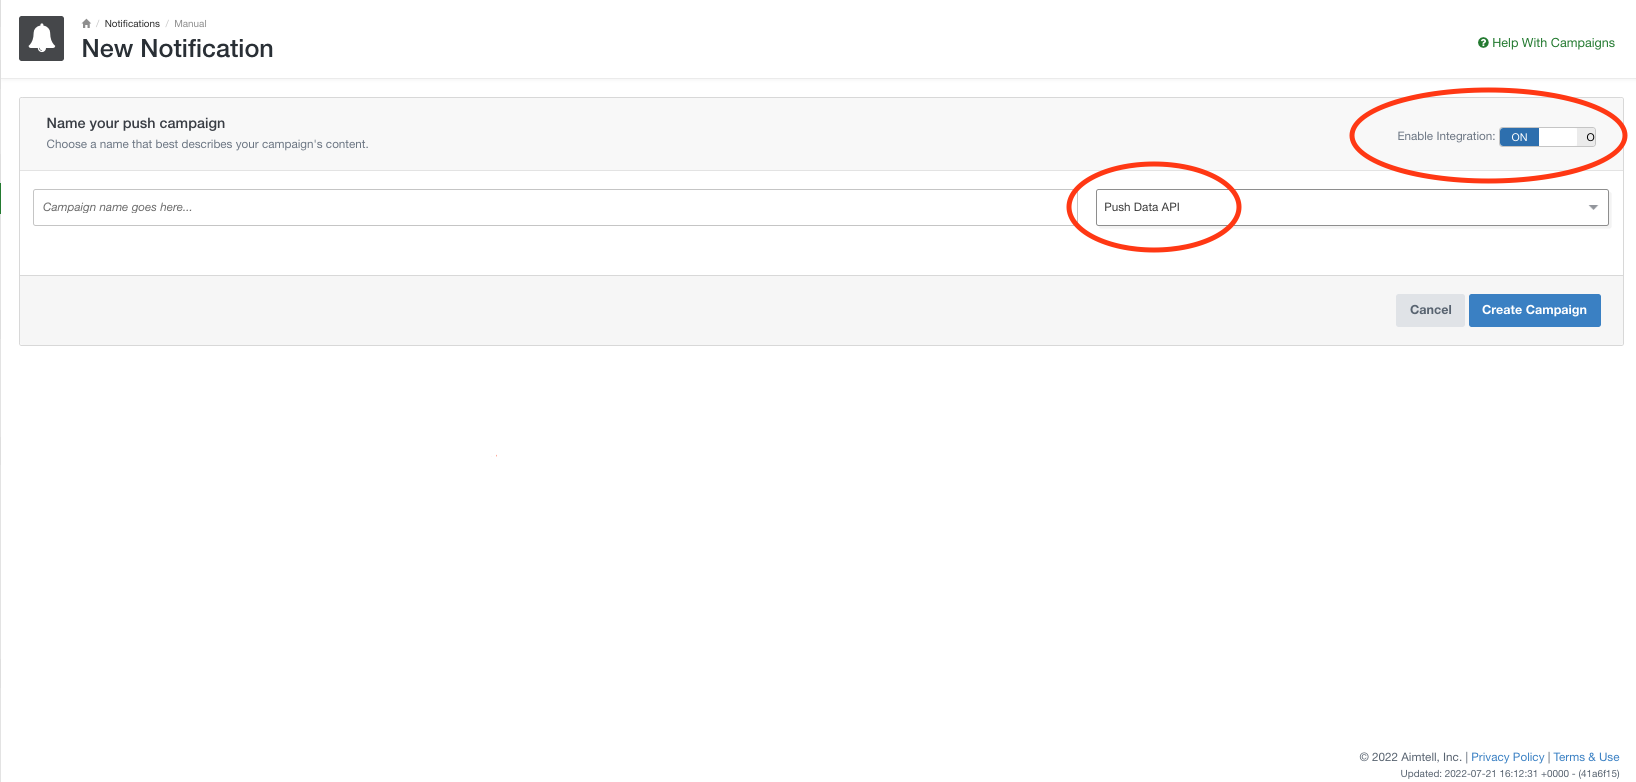
Once the integration is enabled you can create a new manual notification. Be sure to toggle integrations on and select ‘Push Data API.’
Step 3: Build the Campaign
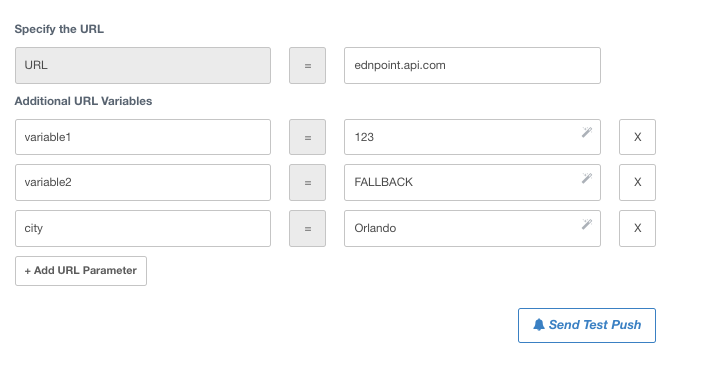
To build your campaign you need to first input your endpoint URL. You can also specify additional URL variables.
Your endpoint URL should be formatted into this JSON Response, and it will be an endpoint from your own API.
{"result": {"title": "Push Title Goes Here","body": "Push Body Goes Here","link": "https://website.com","customIcon": "https://website.com/customIcon.jpg","customImage": "https://website.com/customImage.jpg","actions": {"a01": {"title": "Action 1","link": "https://website.com?a=1"},"a02": {"title": "Action 2","link": "https://website.com?a=2"}}},"success": true}If you add any variables, they will be appended to the Endpoint URL you provide. These variables automatically include any symbols needed (?, =, etc) and can even include custom attributes to create dynamic URLs to pull the most accurate data from your database. Please note - Fallback Text is also supported here.
For example, the setup below would generate this URL going to your endpoint.
https://endpoint.api.com?variable1=123&variable2=FALLBACK&city=Orlando
Step 4: Establish Other Campaign Settings
Next, you can establish the targeting, conversion tracking, schedule, and other settings for this campaign. For help with these steps, refer to our Creating a Manual Campaign documentation.
Step 5: Viewing Results
From the manual campaign overview page, hit 'View Results' next to the campaign. Here you will see totals for the number of notifications sent, clicked, and any conversions tracked. If you specified an event value, such as a dynamic dollar amount, you will also see the total conversion value.
Read our Viewing Campaign Results documentation for a more detailed overview of our campaign reporting.