
Install with Wix
In this document we are going to show you how to install web push notifications on a Wix website with a few simple steps. This page assumes you have already created a site within Aimtell, if you haven’t please follow this link before starting to add your site into the Aimtell dashboard: https://dashboard.aimtell.com/websites/add-site
Step 1:
Create a Premium Wix site with a custom domain.
Example: https://dev-site-1x4145-4.wix-dev-sites.org/
If you already have a site with a custom domain set up on Wix, you can skip this step!
Step 2:
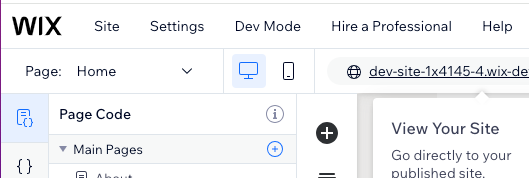
In the top bar of the Wix Editor, click Dev Mode > Turn on Dev Mode.
Step 3:
Under the “Code” section, add a new .js file to the “Backend” called http-functions.js .
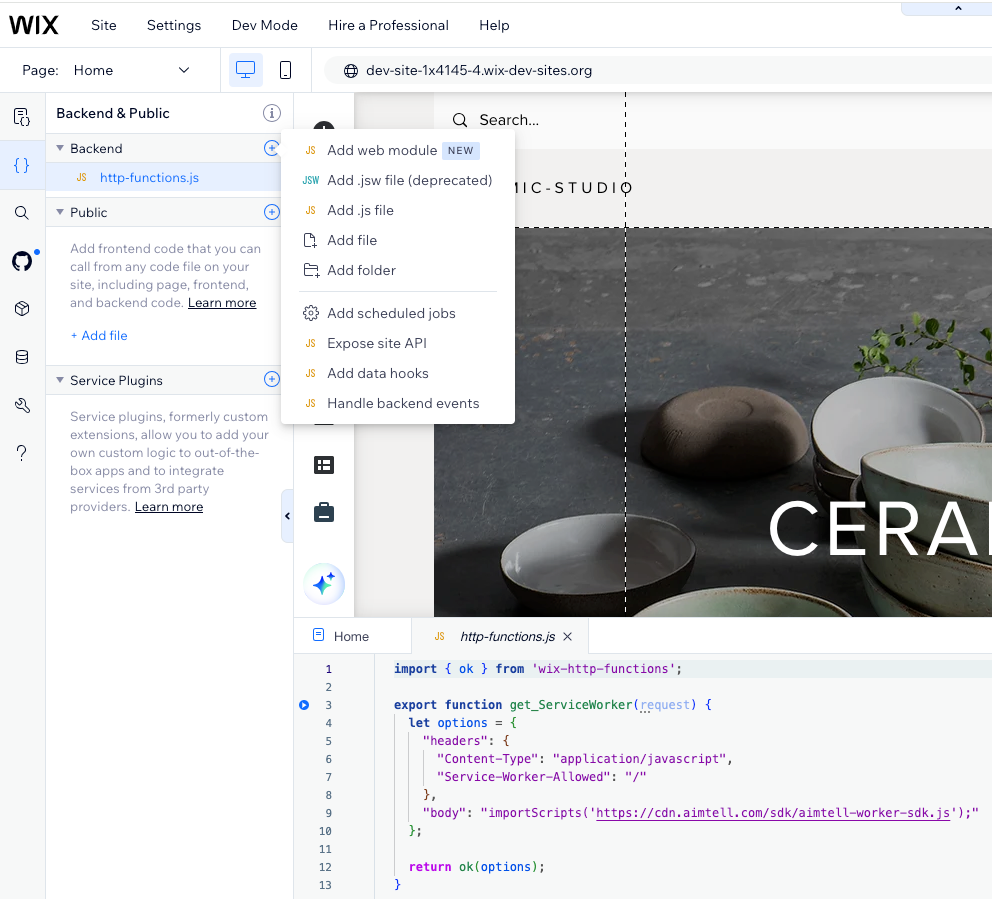
And set its contents to:
import { ok } from 'wix-http-functions';

export function get_ServiceWorker(request) {
  let options = {
    "headers": {
      "Content-Type": "application/javascript",
      "Service-Worker-Allowed": "/"
    },
    "body": "importScripts('https://cdn.aimtell.com/sdk/aimtell-worker-sdk.js');"
  };
  return ok(options);
}
Step 4:
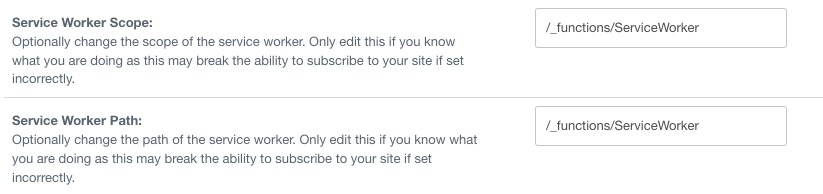
Edit the site “Misc Settings” in the Aimtell Dashboard under Service Worker Scope and Service Worker Path with the text:
/_functions/ServiceWorker
It should look like this:
Step 5:
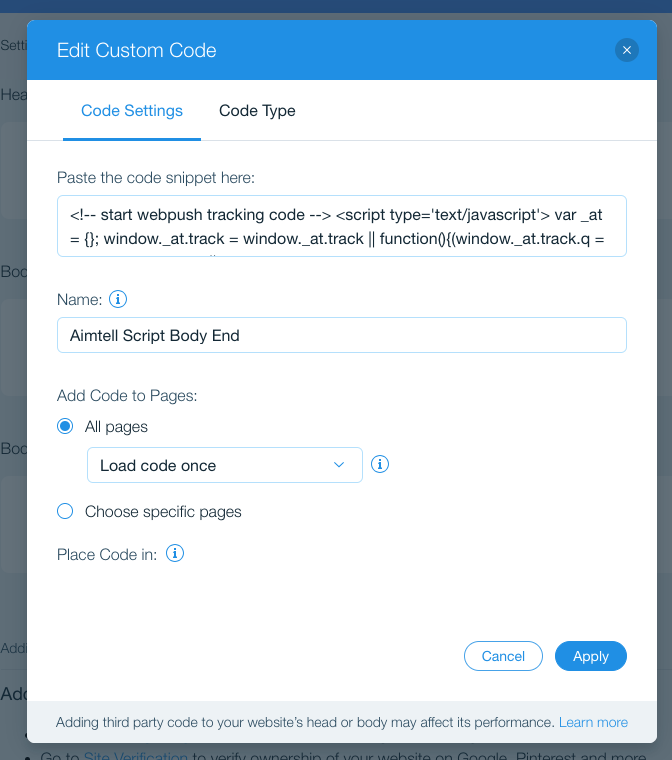
Enable “Custom Code” on Wix site (here’s how to search for that in Wix):
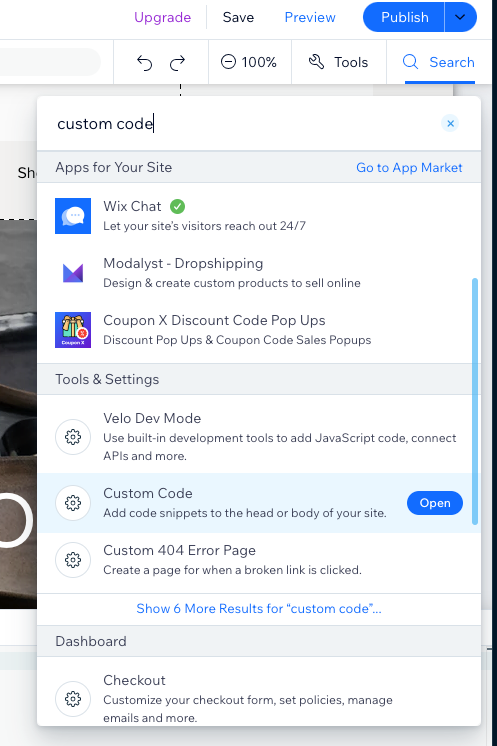
Place the Aimtell tracking script for that site in the body. You can find the tracking code in the Aimtell Dashboard under Tracking Code.
**That’s it!**Your website will now prompt visitors to receive push notifications.